Today, (19th August) marks World Photography Day. Us anglers can agree that getting the perfect shot of a catch you have worked so hard to land is a vital part of a fishing session. It is great that after you return the monster fish back to its watery home, anglers can take the memories away from the bankside of that trophy fish in the form of a digital image.
Whether it's from a professional camera or your smartphone, the last thing you want is to check the pictures you have taken are in poor quality. You do not want to return home to find your head isn’t in the frame, nor is half the fish, or the camera flash has left the image overexposed or out of focus.
In this age of social media and digital photo albums getting that perfect shot seems all the more necessary. For those either taking photographs from a fellow anglers or for lone anglers that are struggling with a self-take setup, we, here at Team AD have collected a few tips for what can really help you take a good catch picture.
1) Pack all the Photography Essentials
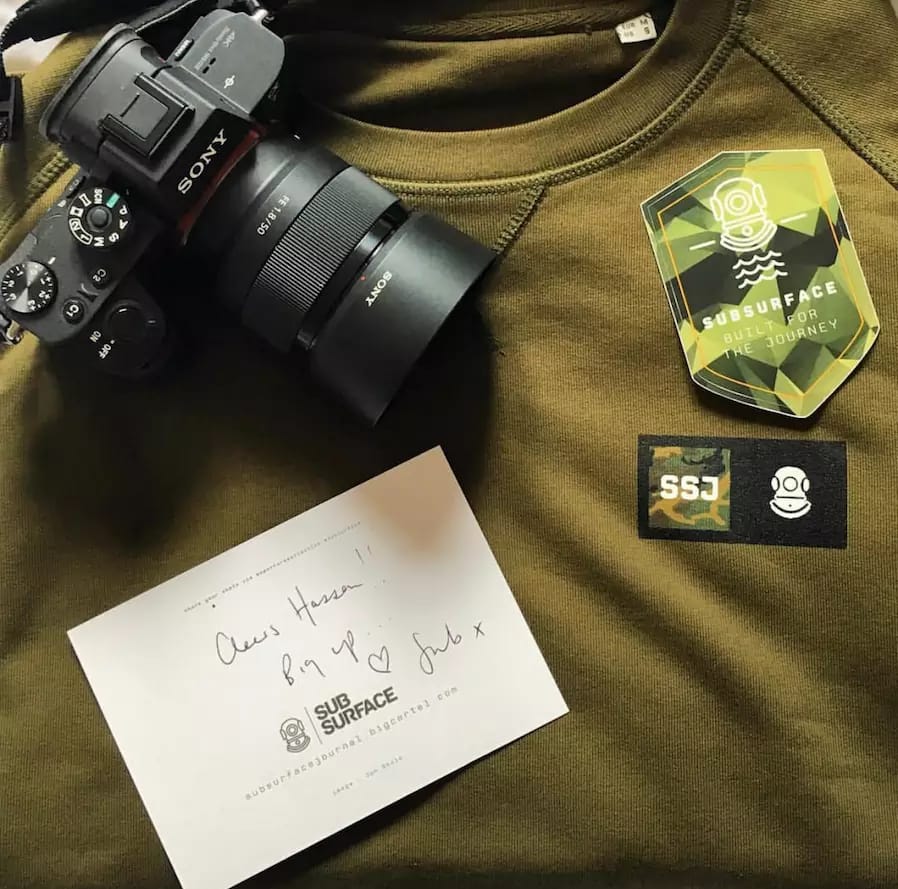
Before heading out on the fishing adventure you will need some basics bits to help take some top tier photography of your trip. Remember to pack a tripod that fits the device you are using for photography, whether it is your mobile phone or camera. If your tripod does not hold your phone too well you can invest in adaptors that comfort delicate screens a little better.
You are likely to be at the bank for quite some time and so packing a charger for your camera or phone is a must as well as a rechargeable portable battery. This avoids you going to turn on your camera to find it is dead and you are left with no way to capture the image!
Luggage wise, you ought to invest in padded bags that are easy to access for your camera or device used to capture these images and keep all the leads, batteries, spare memory cards, etc together. A bag that can help keep your camera dry for the splash of the water or rain is important too. Other tackle must-haves for this photography guide is a fish retaining net, unhooking mat, a bucket to keep fresh lake water in and perhaps a towel to wipe down a likely slimy camera from carpy hands!
2) Preparation of Fish Care
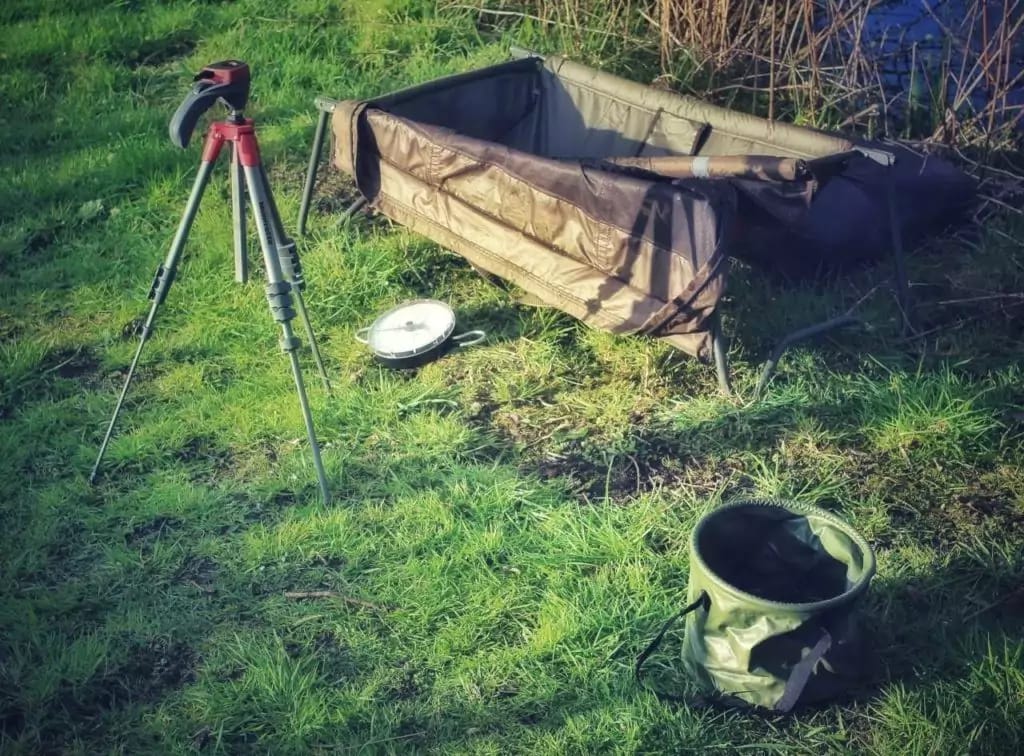
As many anglers already know, fish welfare comes first. This calls for the organisation before setting up the swim. Along with your camera tripod, set up all the fish care items you need during a session, get your unhooking mat into position, your scales poised and ready, along with a set of forceps. Any additional fish care product that should be required such as weigh slings and that important large bucket of fresh lake water is ideal.
A top fish care tip for summer angling is to keep lake water near so you can sprinkle the fish especially when that sun is beating down on the carp. Remember that you should never place a fish on a dry or hot mat and the water in the bucket should always be straight from the lake.
No matter what fish you are targeting and location you are fishing, before even casting out the line, preparing your fish care items means that when it comes to that pressing moment of having the fish out of water for as little time as possible, you can press the shutter button confidently, knowing you will be snapping like a professional.
When it comes to fishing photography, always make sure you prioritise looking after your fish. It is paramount to good angling practice to never sacrifice the welfare of the fish for a photo. If the fish is showing any signs of distress, return it immediately and always make sure the fish is on the surface of the bank for as short of time as possible. This step of preparation prior to the landing a fish is one that should not be skipped. You cannot leave it until the last minute as you will end up hauling the fish up onto the hooking mat with it drying out before you even start getting your photography equipment ready.
3) Choosing a Background
Capturing fish, moments and achievements that all your friends will be envious of takes some dedication and preparation. Not only is fish care gear and a tripod set up important but looking for a position to sit with your catch on the bank that looks less clumsy and cluttered is key too.
Always check and select the best background where possible, with perhaps a camera facing out towards the bank’s horizon, across the quarry. You do not want to have something ‘uncarpy’ in shot such as a dustbin or portable toilet!
Take a picture that gives your hard work any justice and look for some foliage or something such as a leafy backdrop. However, be aware of obstacles like branches as these can affect a shot and occasionally make it appear like you’ve been impaled through the head or something similar. Consider placing your unhooking mat and camera tripod where you're not going to have tree branches to disrupt lighting or a spod rod cutting through the whole shot. Just make sure that the background of your photos is clear so that the main focus is on your prize catch and yourself.
4) Framing and Testing the Shot

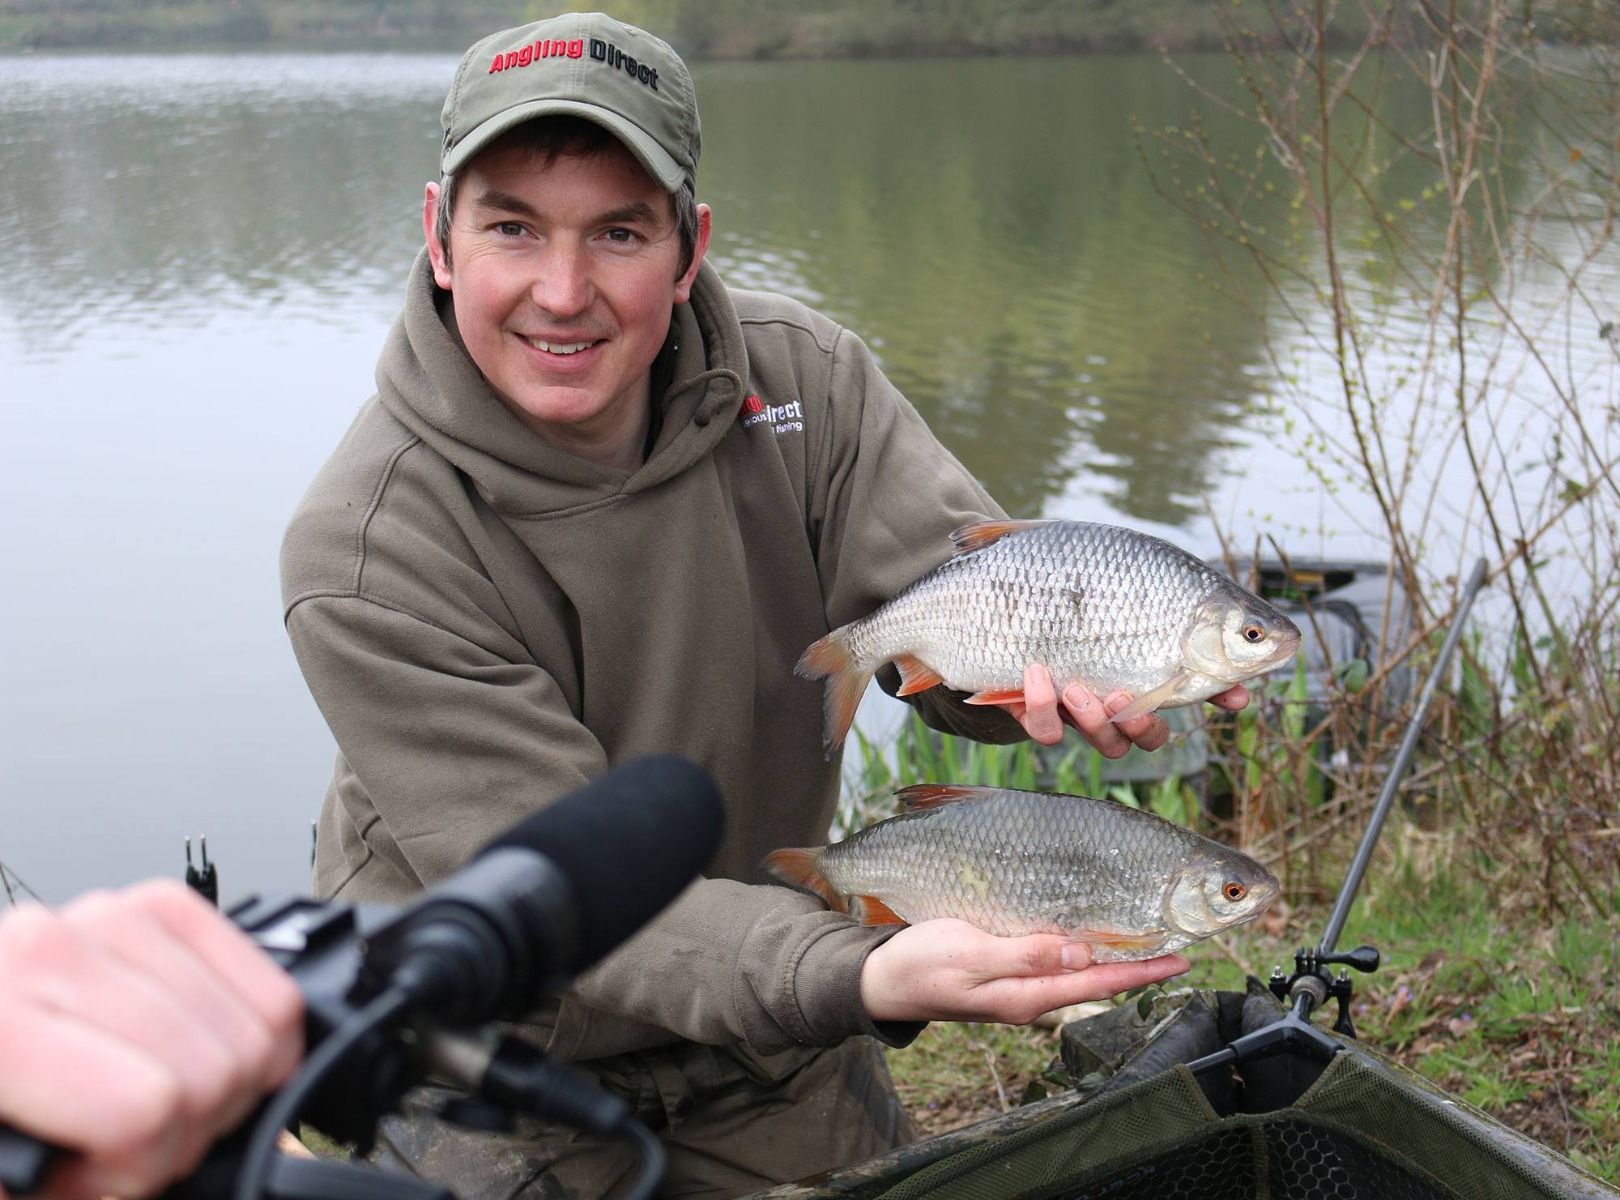
As previously mentioned, you and your fish need to be the centre of the photo you take. This is where the frame and focal points of photography come in. When setting up your camera, make sure or get a fellow angler to check that you are in the centre of the frame with your fish.
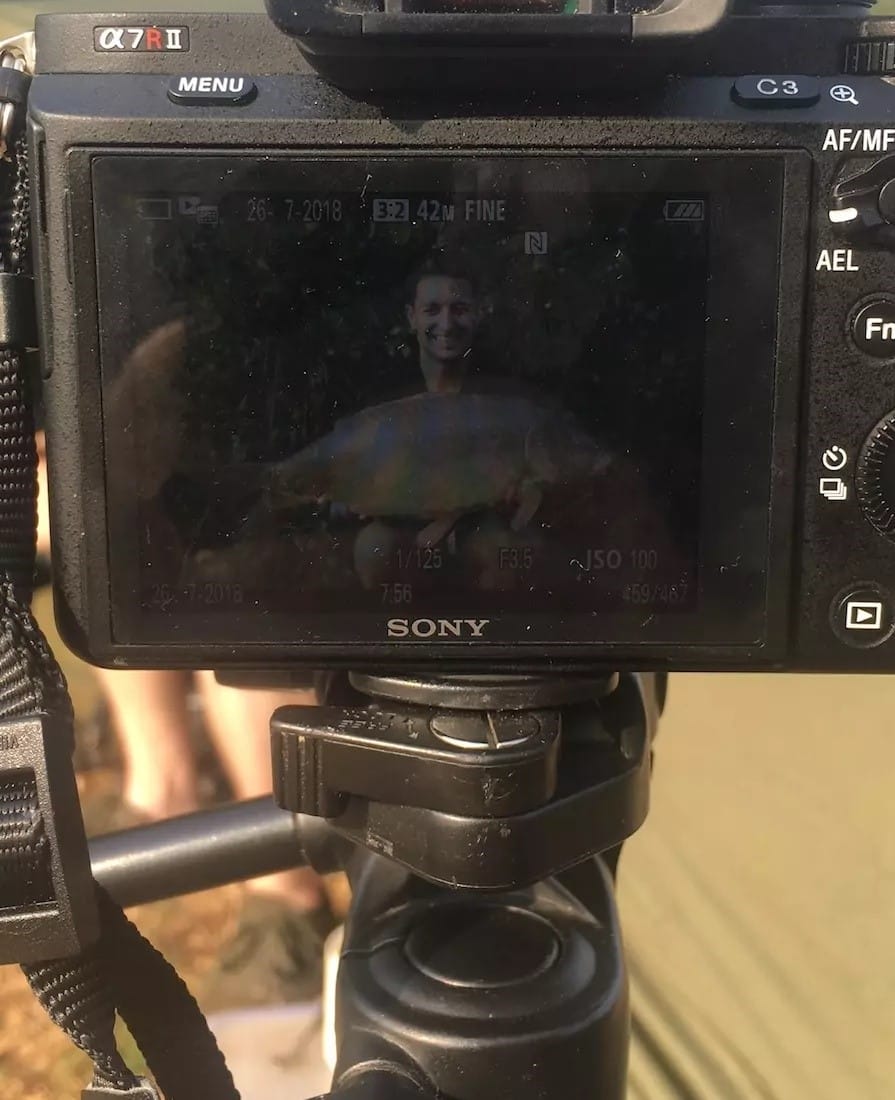
Ensure you or whoever is taking the picture has the fish dead centre of the shot and that the fish doesn’t have its tail, fins or anything else out of the shot. To help with this you can explore the photography rule of third. This basically means that the image is split into nine boxes but you want to make sure the important elements, the fish and yourself are in the central boxes like in the image above.
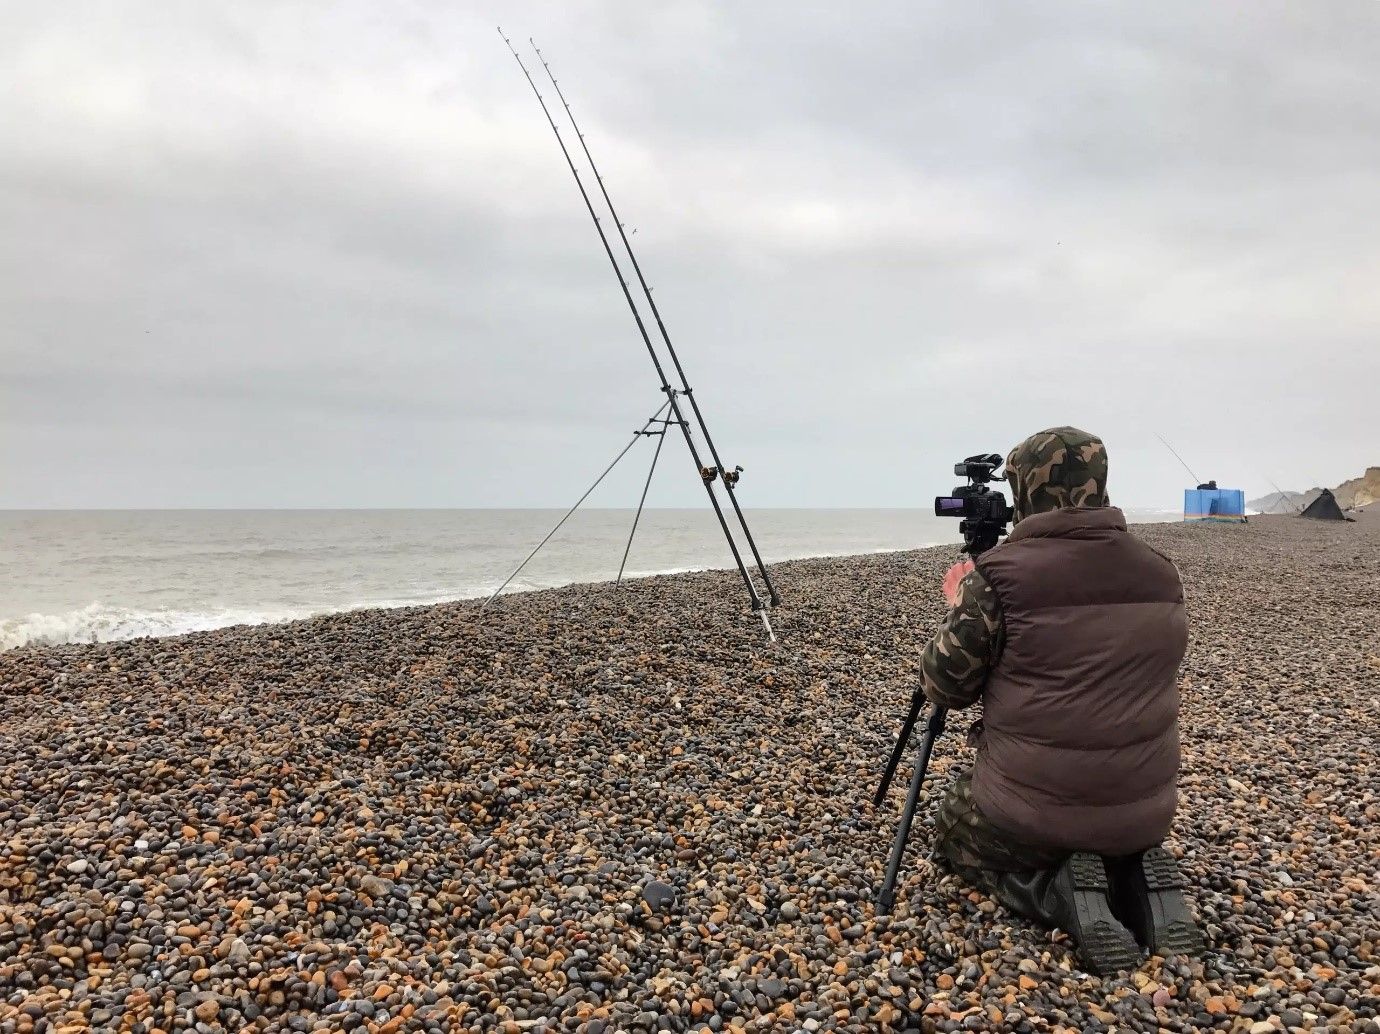
Not only do you need to centre yourself but make sure that the horizon behind you is level. Both are key considerations for a catch shot. When adjusting your frame and focal points with a potential catch in mind, do not be afraid to take multiple shots, testing out what will be the perfect angle, focus, camera setting, etc, so that when the moment on getting the fish snapped comes, you can do it as quickly as possible with minimal faff. If you are with a friend fishing, then take advantage of their company and make them your personal photographer! Another pair of hands and eyes really helps capture perfect shots on the bank as they can ensure the shot is framed correctly and the fish is the focal point of the image.
5) Self-takes for Lone Anglers
For those of you that fish alone, self-take photography is the only option however getting it right can at times prove to be tricky. With selfies, there is an extra responsibility of ensuring everything is correct both in front of the camera and behind it. Whether you choose to take a photo on a mobile phone, compact camera or DSLR there are a number of ways we can do this.
When photographing the fish yourself, you can use a self-take facility, like a tripod. Many tripod offer adjustable grips that can hold a camera or a phone. Whatever your device, make sure you position yourself at that same level or near to the fish as the camera set. It is not ideal to have a shot looking down or from below as this can lead to distortion and effect to be the true perspective of yourself and the fish.
Not only do you need to consider a tripod but on the device, you are taking photos with, can you use a timer or remote control for taking the picture. If you have to do a self-take, always perform a series of test shots (better to have done this well before the capture whilst waiting) and mark the spot in which you are happy with the framing with a bank stick, therefore when it's time to shoot your pic you can ensure you are in the correct position and click away.
If you do struggling with single-shots and self-timers on your mobile phone or camera, you can try using a timelapse app or function which take multiple shots at regular intervals (usually once every second), giving you the chance to take a series of shot to choose from. You can also have the opportunity with this function to show both sides of the fish or try out facial expressions.
6) Posing whilst Holding the Fish
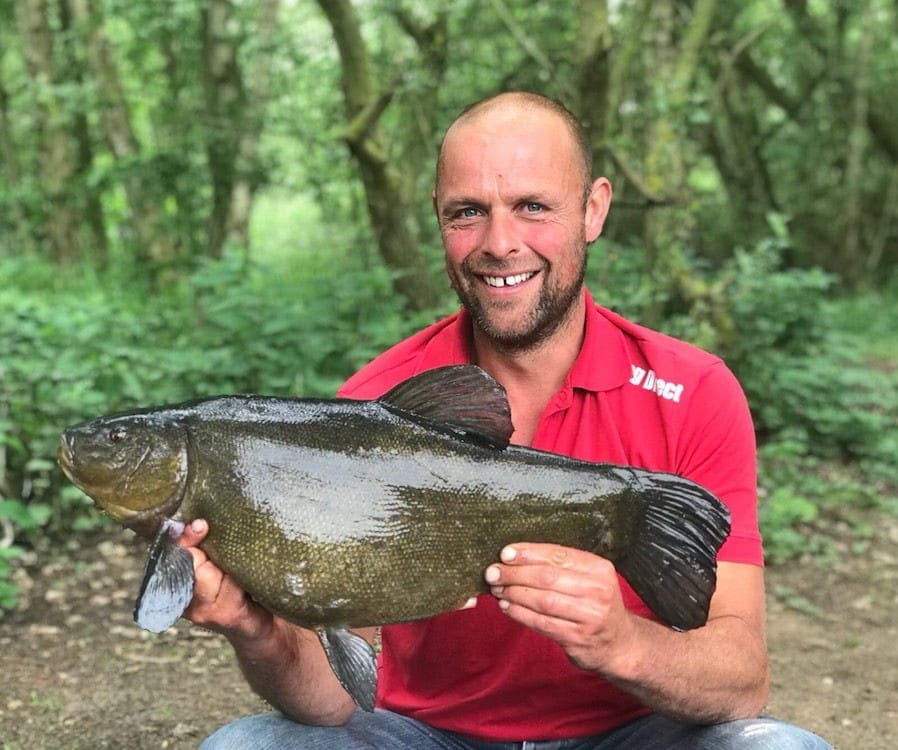
Whether it’s a self-take shot or a friend is on that shutter button, how you are holding your catch can make a massive impact on how the picture looks. The easiest way to lift a fish is to slide your hand under the fish and have the fingers of one hand under the fish’s pectoral fin joint and the other hand under its anal fin and balance the fish with your elbows on your knees.
Whilst you are lifting the fish, try to remain steady throughout the picture and always have a mat and water under/near the fish to ensure fish care again prioritised. Always try to not have your hands all over the picture and that you are not holding the fish either too close or far away from your body. When posing you also want to remember to smile!
7) Lighting, Lenses and Editing
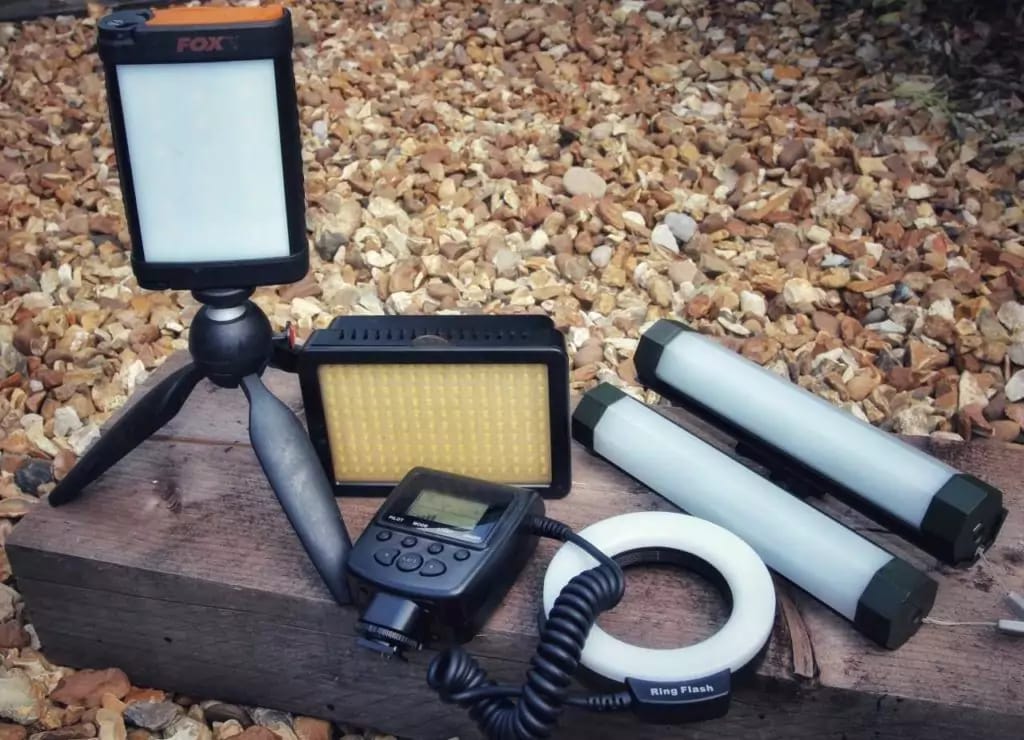
If you are a bit of a perfectionist when it comes to bankside photography, remember there are many tools out there to help with lighting or focus issues on a picture. Try photo editing tools such as Photoshop or Light Room.
If you are not so tech-savvy, you do not need to worry about fixing the image after the shot, why not try a few quick checks before taking the picture? When at the bank, you can make sure that you reflect the colours of your catch with fish with a bit of the natural sunlight on it. Make sure the sun is not behind your catch, this way you will effectively have natural light, rather then having a dark image in which you can't see the fish’s details. For fish welfare, always assess this whilst the fish is in the net recovering, then you can pick the perfect, well-lit spot with the correct background before you have the fish on the bank.
If you happen to land a fish at night that you want to get a good picture of, try using the flash option on your camera or phone. Or even have a friend shine an external light, like a torch or LED panel onto the shot. Remember to sit close to foliage like a bush or shrub when photographing at night so that the light from the flash has something to bounce back off and help show up more detail in the fish.
If focusing your shots is the issue on a camera, you can also purchase a camera lens. Start with a 50mm lens as these allow you to create very narrow depths of field for that ‘sharp fish, blurred background’ effect.
That is our top 7 tips to taking some great fishing snaps at the bankside! We hope the photography tips help you take some epic pictures of your hard-earned prizes in the future! Just remember; fish welfare and safety comes first at all times. Now, get out there, and get catching and capturing! Don’t forget to tag Angling Direct’s social media when uploading your photo’s of a trophy catch!