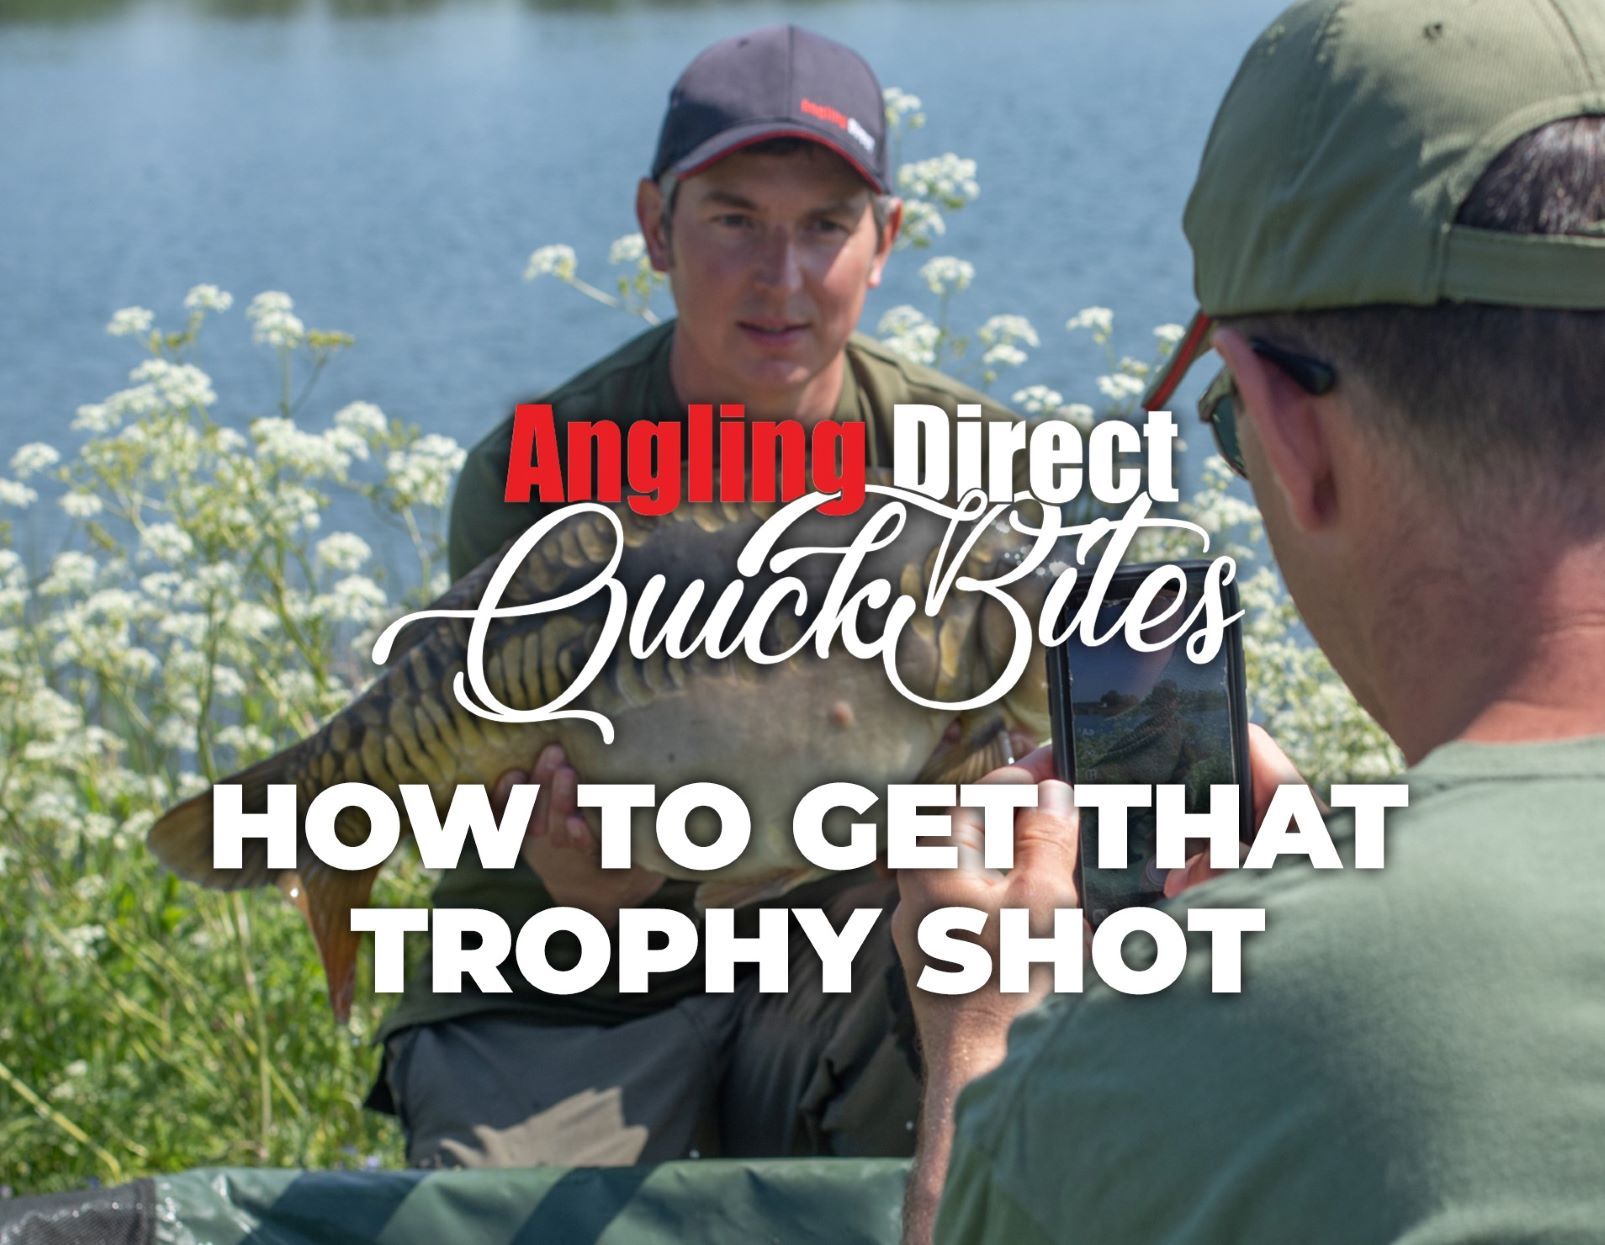
Being able to take good quality, well-framed pictures of your friend’s latest catch might sound easy, but it can be a real minefield at times!
In this AD Quickbite, Angling Direct’s very own photographer, Amanda, shares her tips to getting the best possible capture picture of your catch. This step by step How-To Guide will show you the fundamentals behind capturing that perfect trophy shot, covering everything, from lighting and background as well as some extra handy tips.
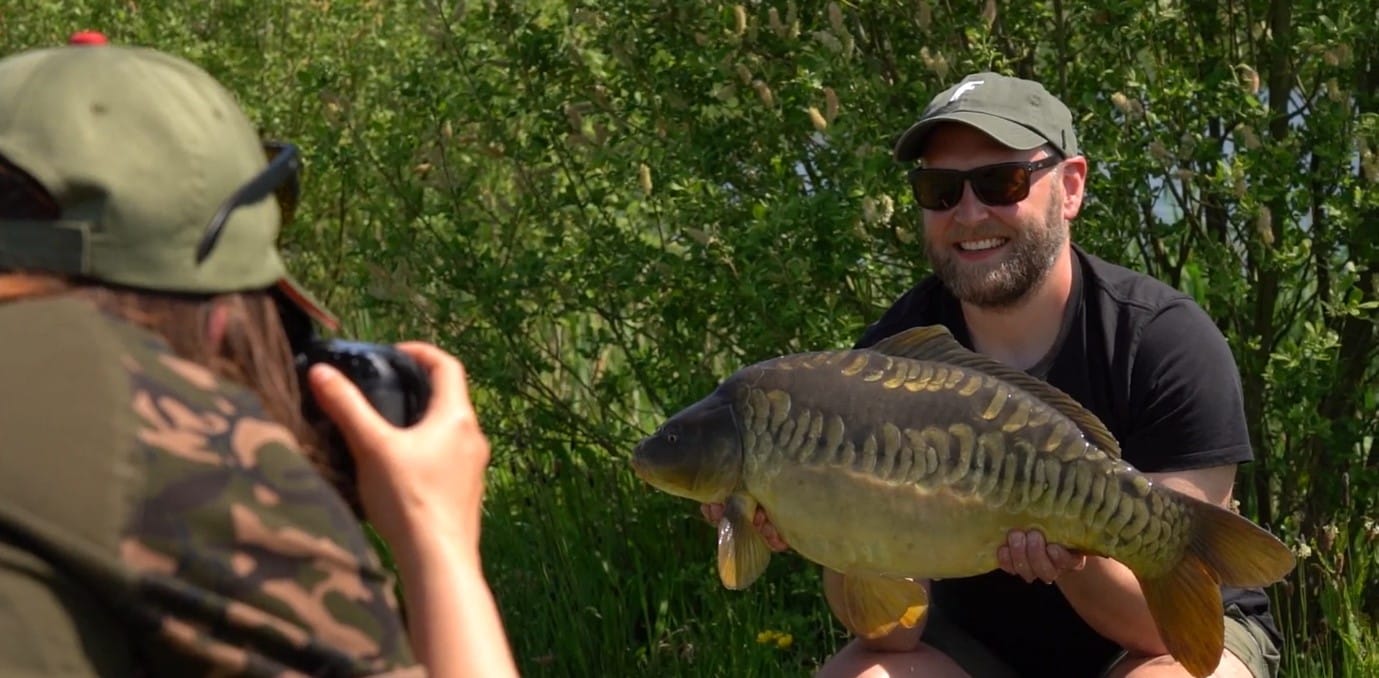
1. Before you get the fish out of the water, make sure you have good lighting. Try to avoid any harsh shadows but aim for a shaded area.
2. If you cannot reach a shaded area, then at least aim to take the photo with your back to the sun and your capture (angler with the catch) facing towards the sun.
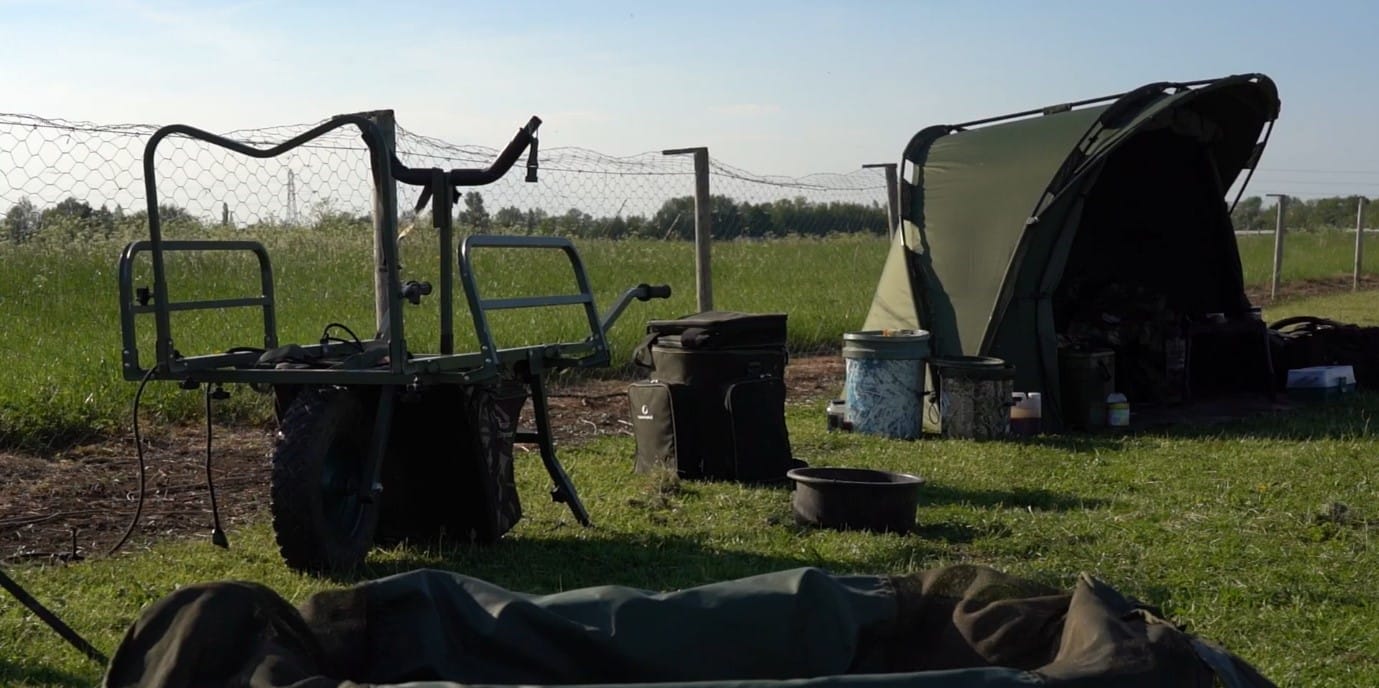
3. After lighting is sorted, you want to find a nice background. Make sure to remove any clutter from the area such as your rods, reels, nets, bivves, etc. If you can find some nice greenery such as reeds, trees or bushes.
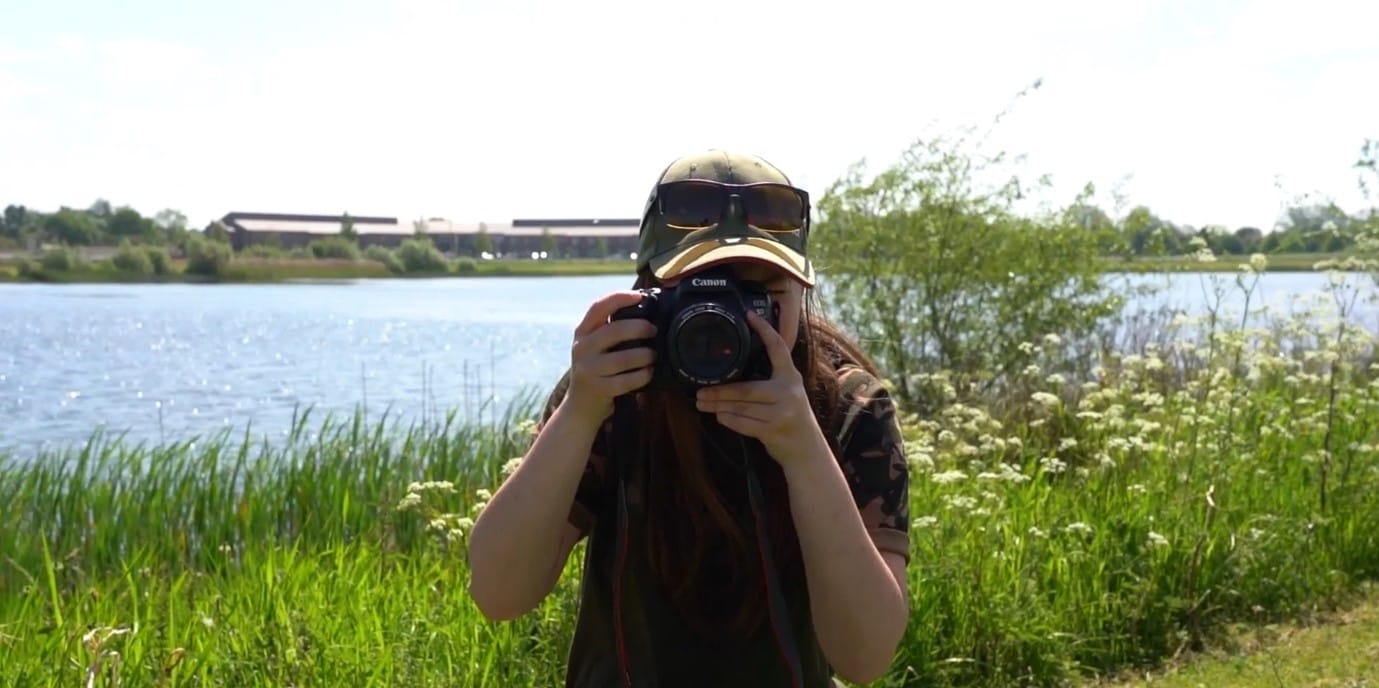
4. The next step is to take a test shot. Before getting the fish out of the water, get your subject to pose as if they were holding a fish, just to make sure all your settings are correct.

5. Use a focus point on the back of the camera as to where the fish will be, this should roughly be the chest area of your subject.
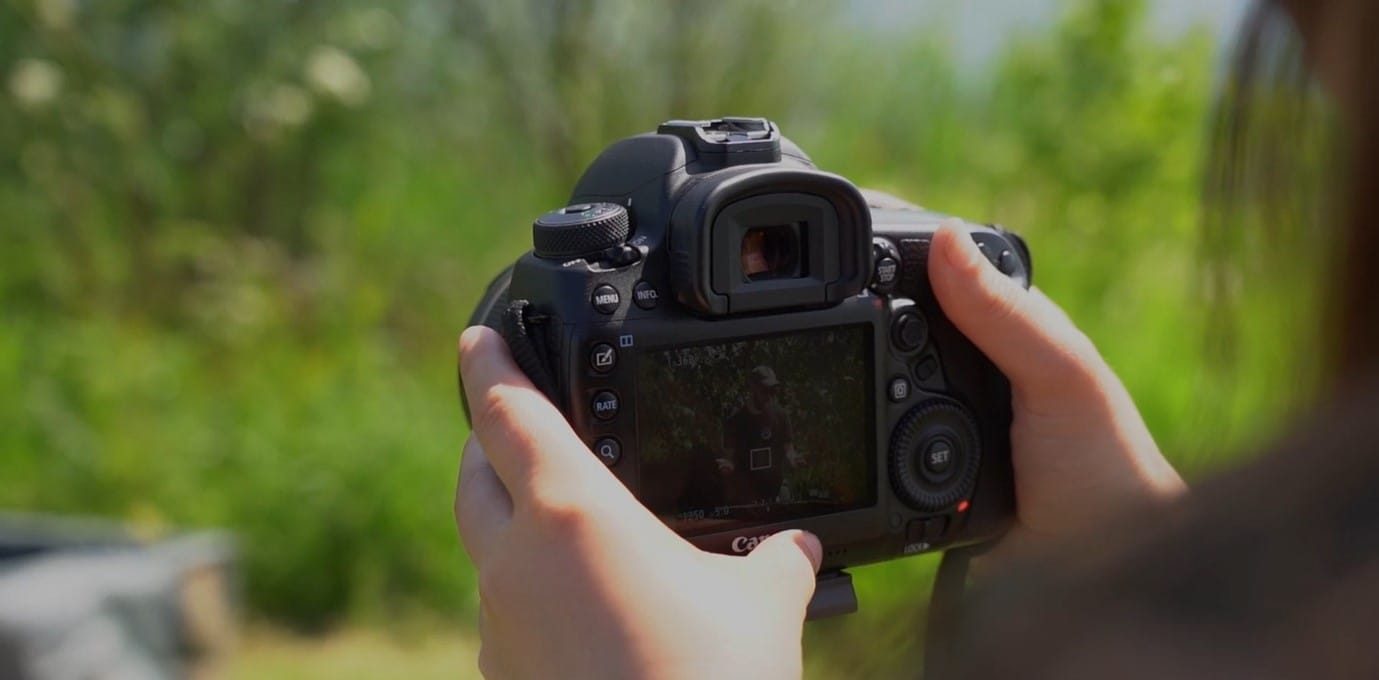
6. Remember to frame the image correctly. Do not zoom in too far so that you are cropping off any of the fish or the angler.