Search
How to Tie the Hair Rig In 3 Different Ways - AD Quickbite
The Hair Rig is simple to tie and super versatile. With a few minor changes during the creation process, it can be adapted to suit all kinds of hook baits! In the simple and easy to follow AD Quickbite guide, we show you how to tie it in 3 different ways.
Before we show you the steps to tying a Hair fishing rig, there are a few items you may need to add to your shopping basket to make this amazing rig.
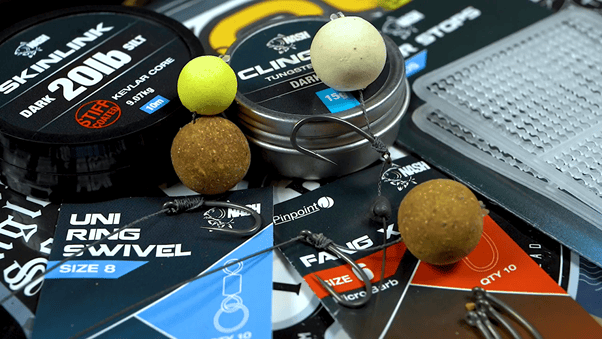
What Do I Need To Tie A Hair Rig?
-
Nash SkinLink Stiff
-
Nash Uni Ring Swivel
-
Nash Cling-On Putty
-
Nash Pinpoint Fang X Hooks
-
Nash Hair Stops Small
-
Nash In-Line Lead Insert
-
Korda Textured Square In-Line
-
RidgeMonkey RM-Tec Multi Tool
-
Korda Razorblades
-
Korda Fine Latch Needle
How to Tie A Hair Rig Step by Step
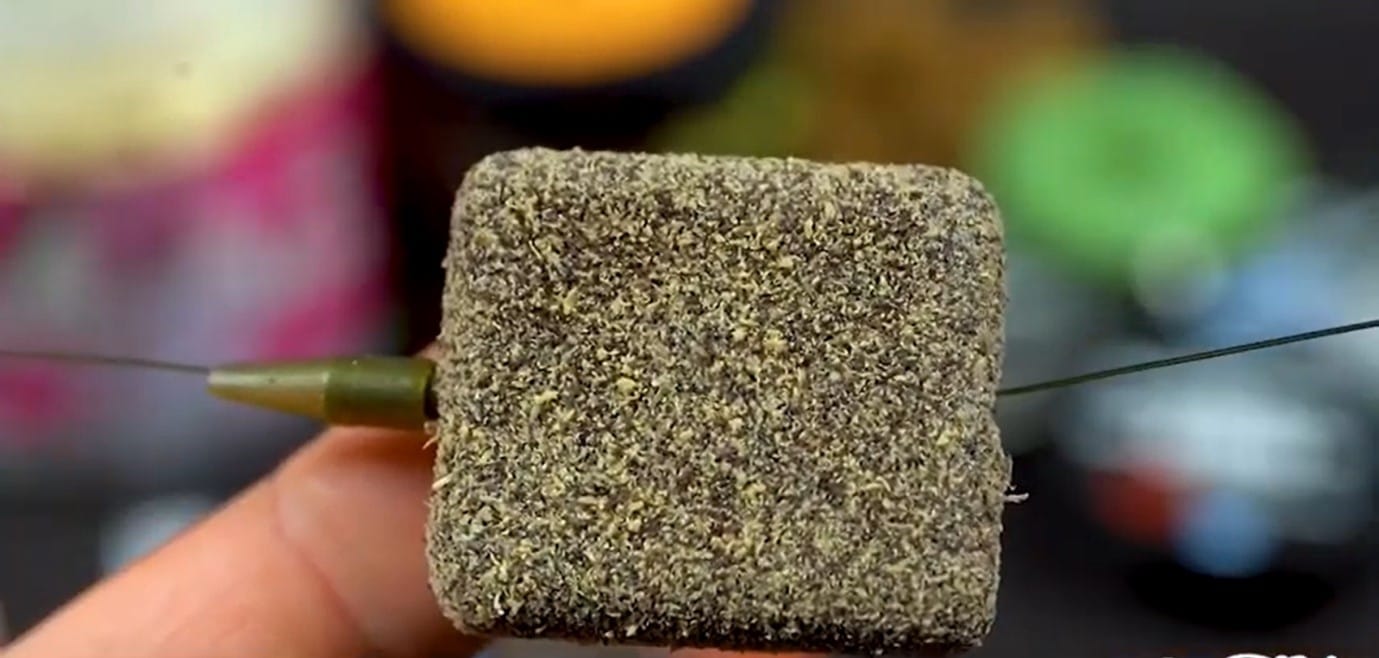
Step 1: Take an inline lead and slide it onto your mainline
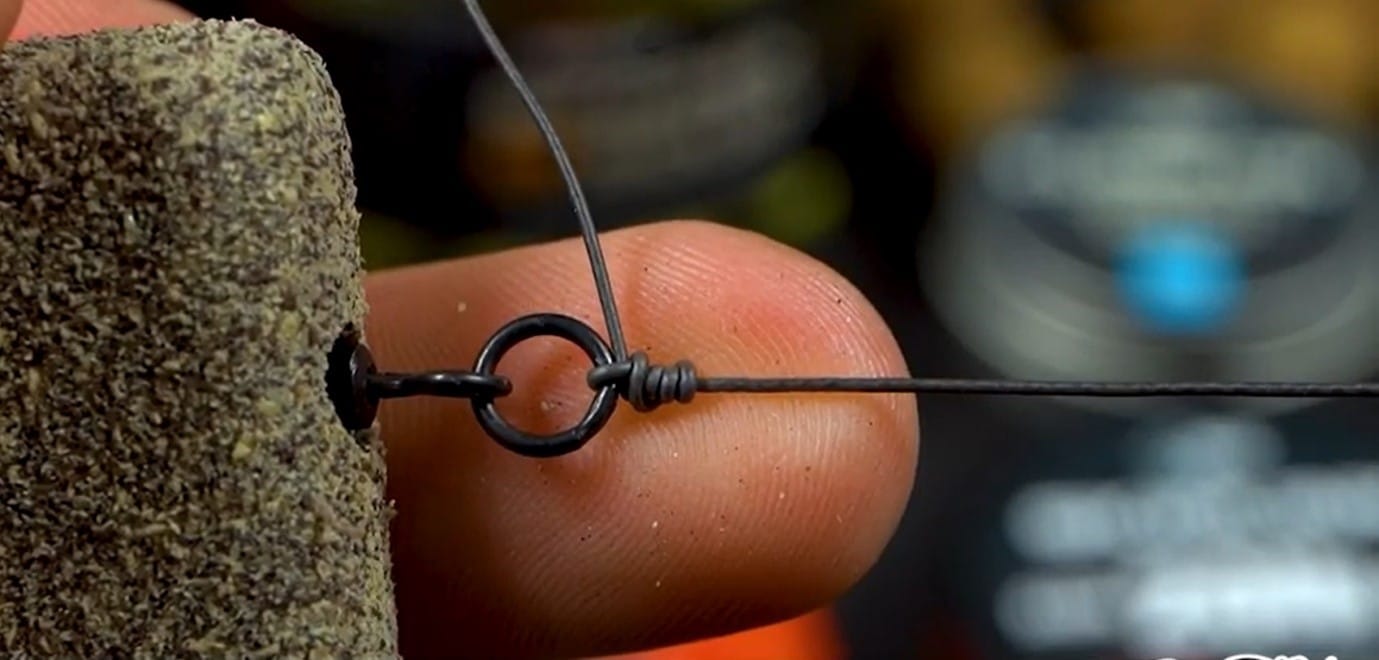
Step 2: Attach a uni swivel with a 7 turn blood knot
Step 3: Take 12 inches of coated braid and partially strip
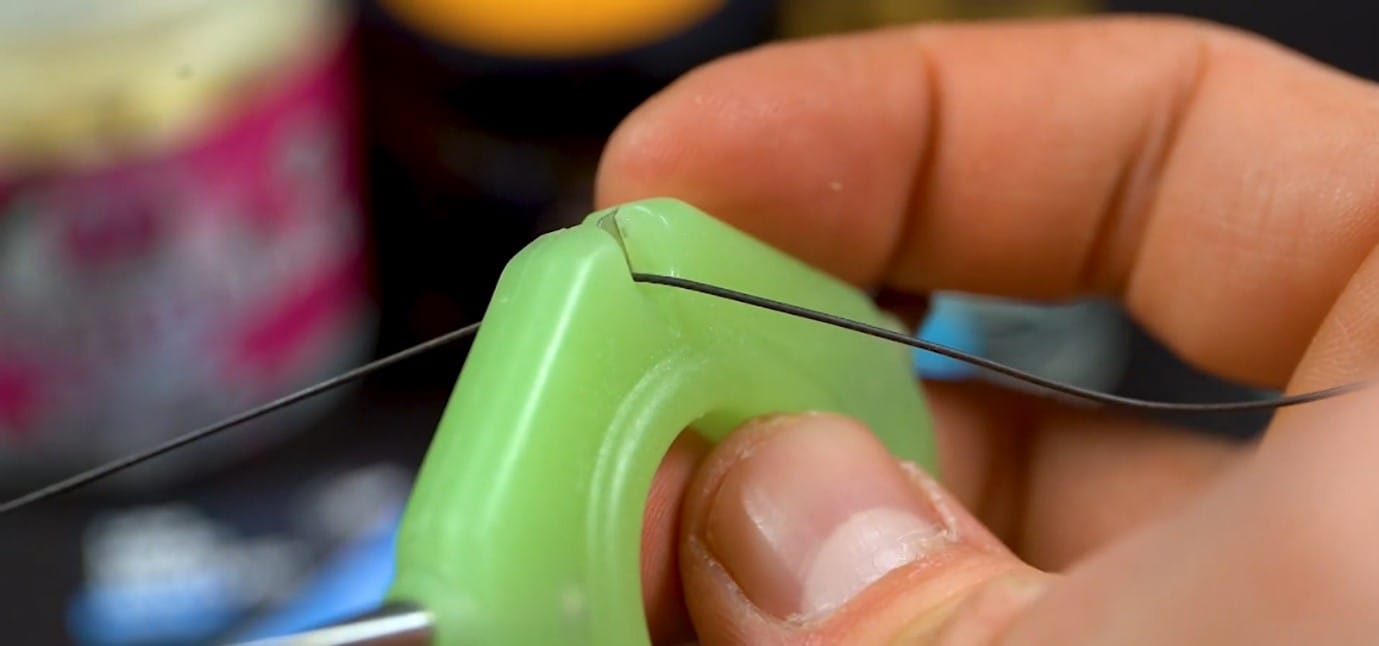
Step 4: Tie an overhand loop knot in the stripped section
Step 5: For bottom baits you need 3 inches left stripped, for pop ups you need 4 inches left stripped and for snowmen you need 5 inches left stripped.
Step 6: Slide on your hookbait using a baiting needle
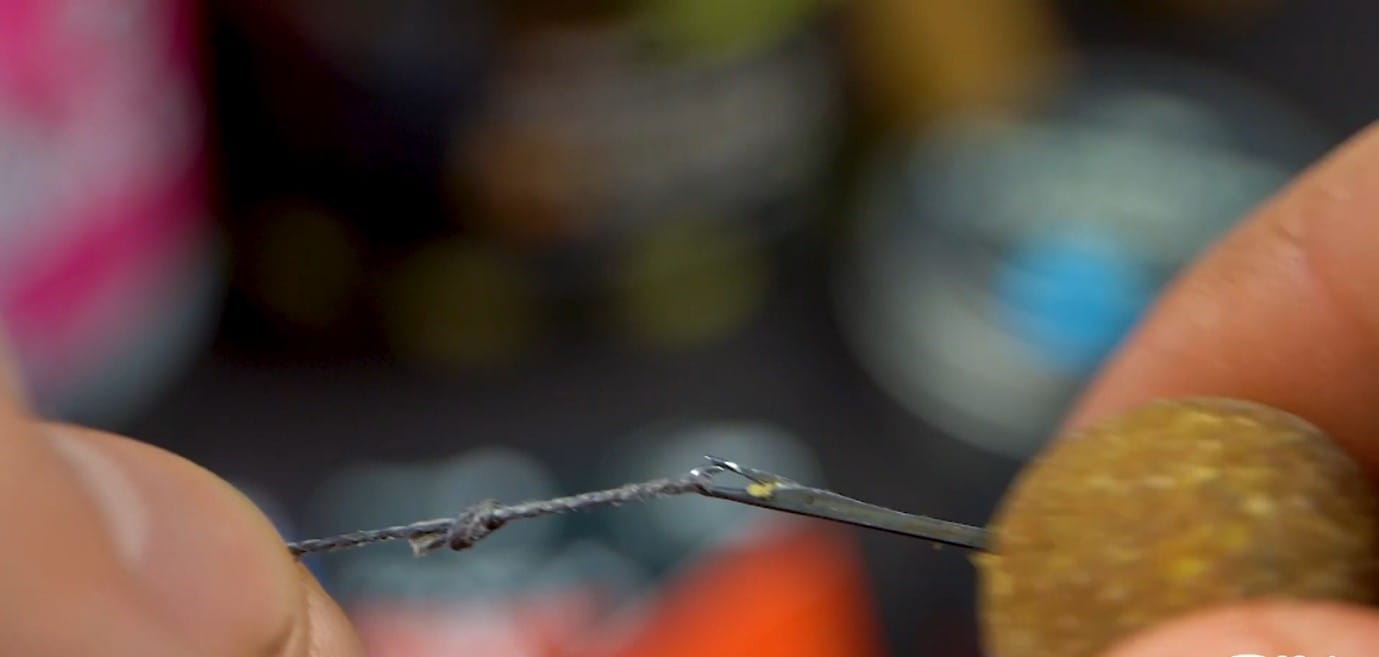
Step 7: Secure using a hair stop
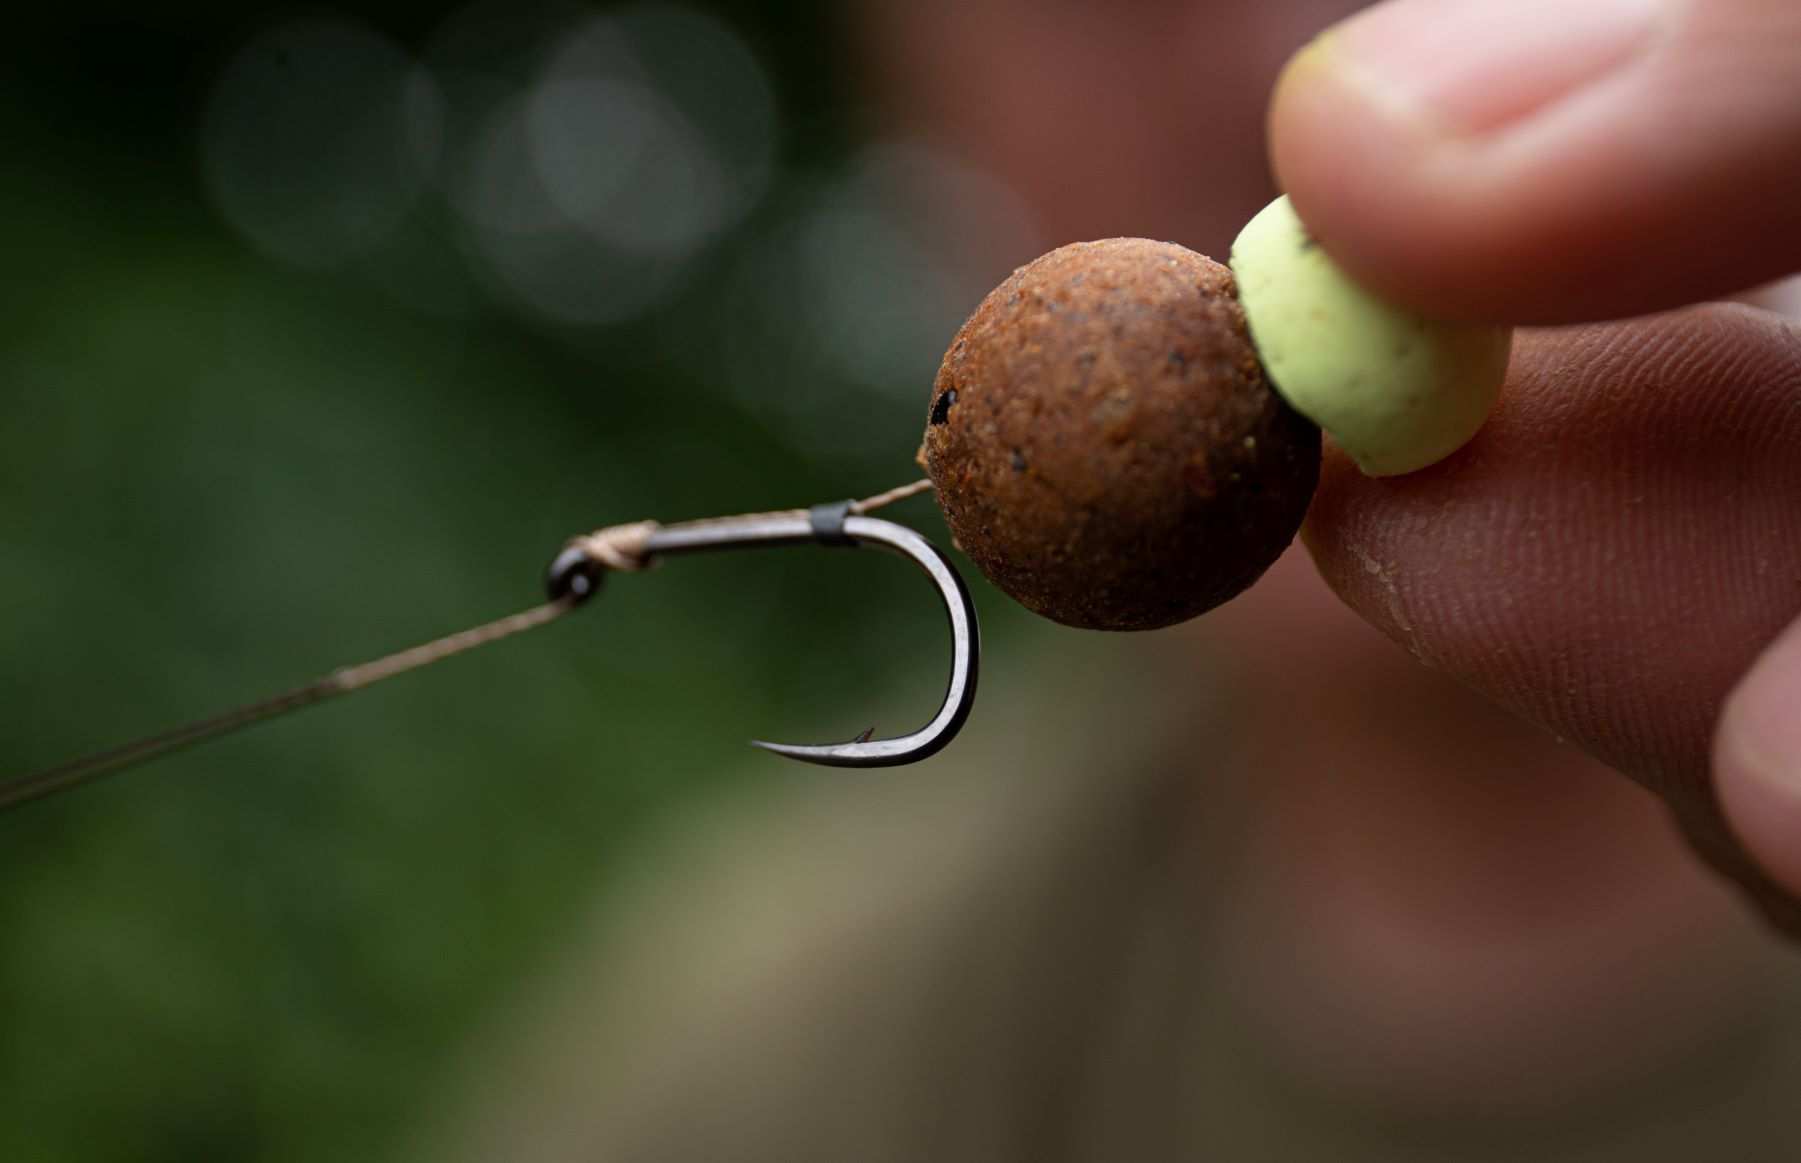
Step 8: Thread the hooklink through the back of the hook eye
Step 9: Line the hookbait up with the bend of the hook
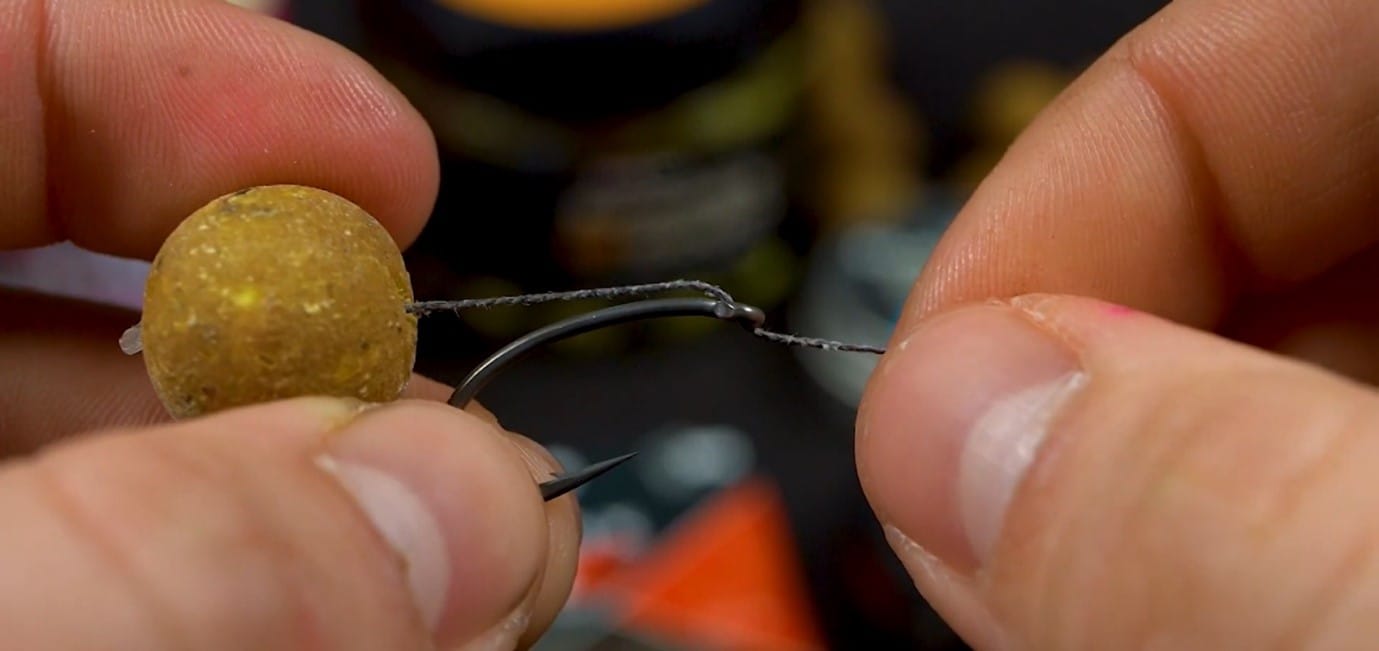
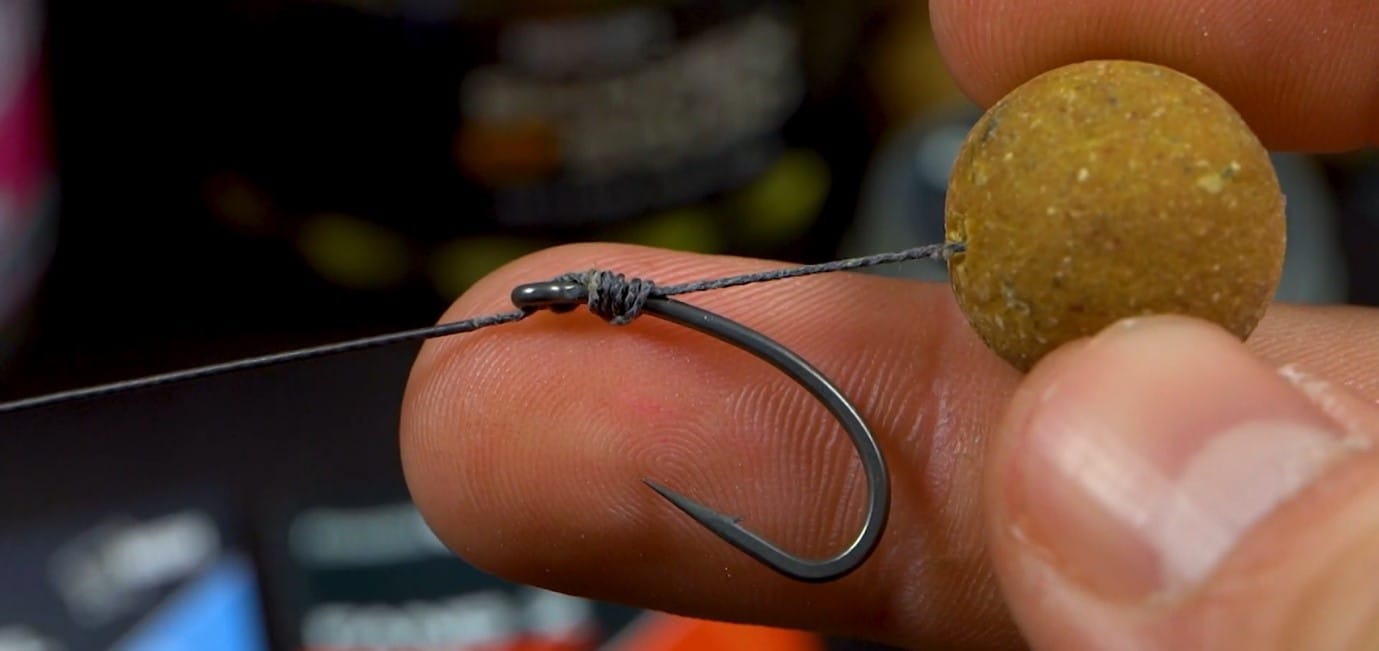
Step 10: Secure with a knotless knot
Step 11: Ensure you have some uncoated hooklink below the hook
Step 12: For pop up, put a granny knot at the break and add putty to balance the pop up
Step 13: Set the rig length with a 5 turn blood knot
You are ready to fish!
For a closer look at how to tie this rig, watch the video below.
For more carp fishing rigs, view our How to Make Carp Fishing Rigs Guide on the Angling Direct Blog, or follow ADTV on Youtube.
Related Blogs: