Toggle Nav

Dave's How To - Fit A Puller Kit
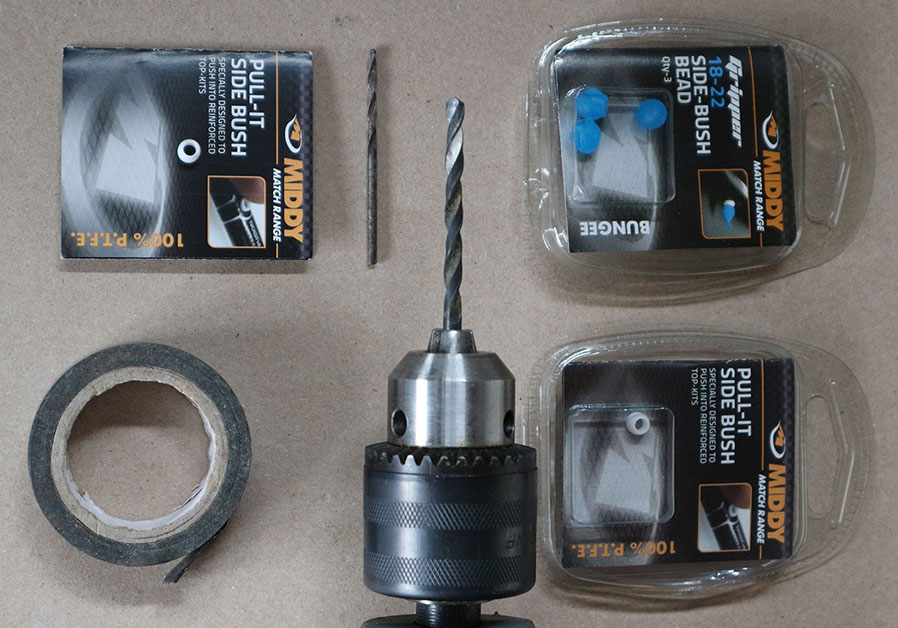
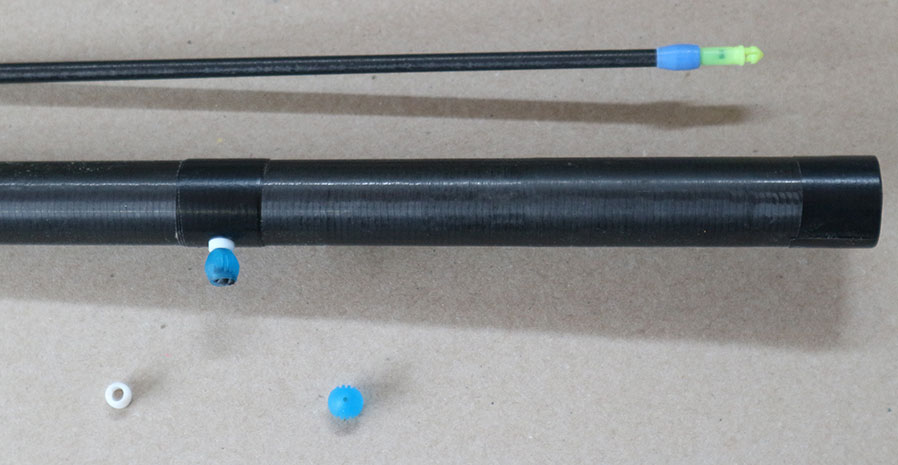
First of all, the instructions inside the packet said to drill through a reinforced section, which my power kits don’t have! I got around this by reinforcing where the side bush needed to be (just above the lower joint on the second section) with several tight turns of black EVA tape. I then drilled a 2mm pilot hole, as instructed, followed by widening it with a 5mm drill – easy!
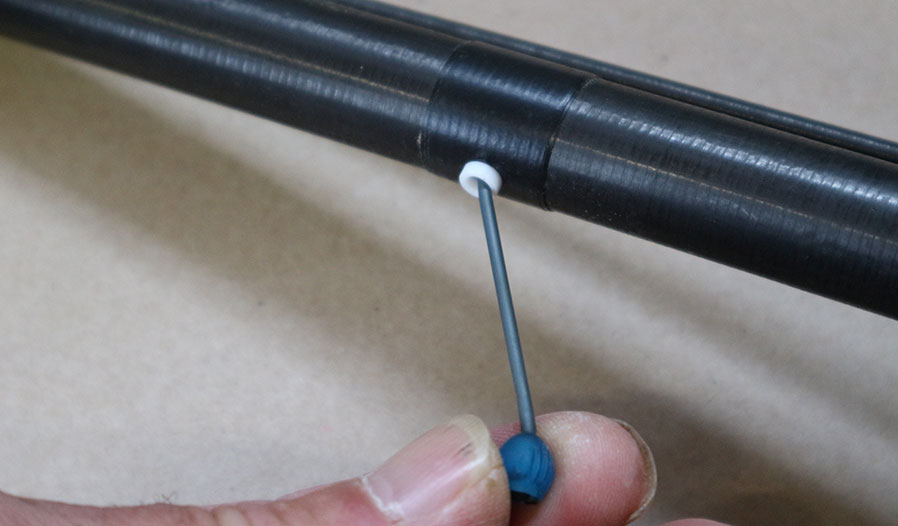
With baited breath I pushed a bung into the hole and it clicked in place perfectly, just like the packaging said it would. It then only took a few minutes to thread through elastic and fit a bead at the lower end, along with an elastic connector at the tip end of the top kit. In total I rigged up two power kits like this, one with Daiwa black Hydrolastic and the other with grey. I know from previous experience that these two grades can handle just about anything. The whole operation only took around 20 minutes.
Since then I’ve landed carp well into double figures with my puller kits, finding the system much better at both playing and landing fish, plus it’s a lot quicker. Gone are the days of trying to control big fish with several metres of pole bending over alarmingly, combined with yards of elastic stretching out uncontrollably.
Buy The Middy Puller Kit & Elastication Accessories