Search
How To Tie a Slip D Rig - Carp Fishing Quickbite
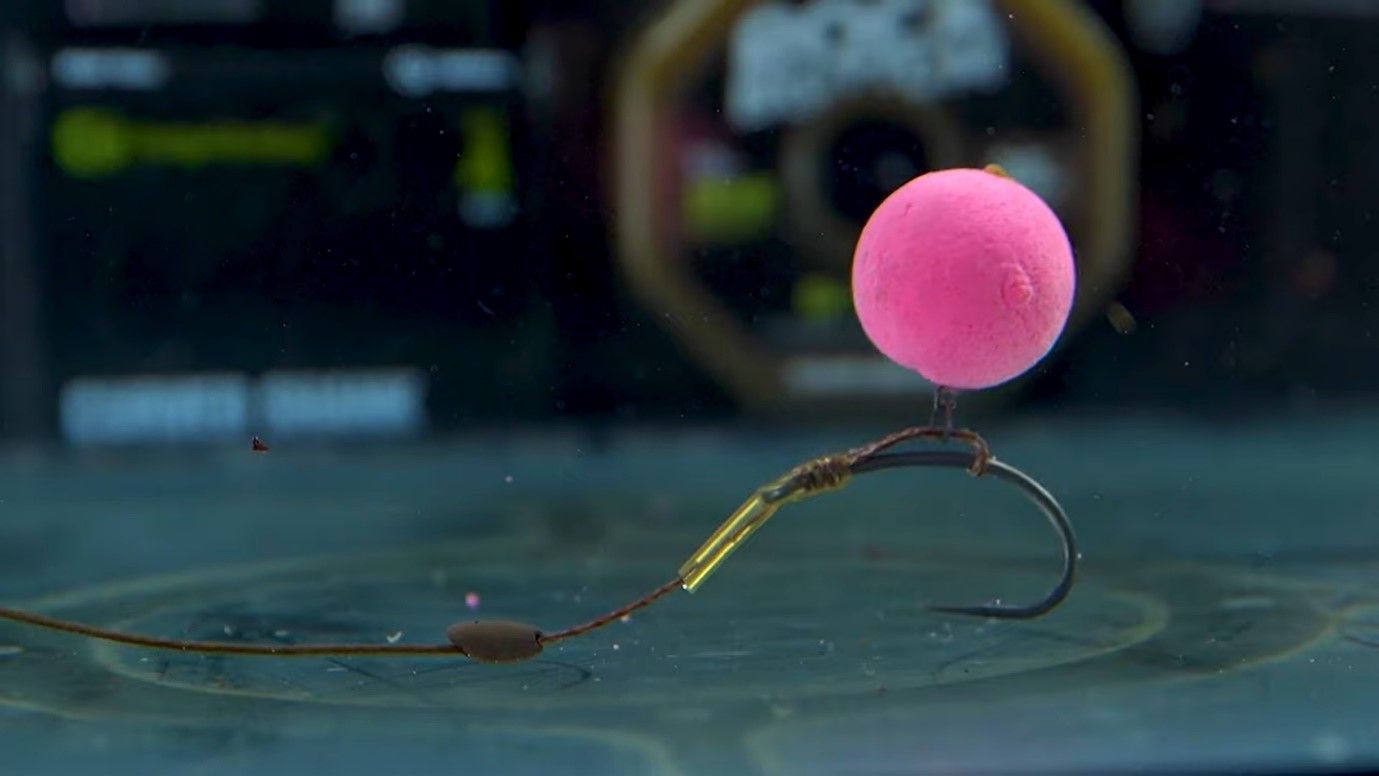
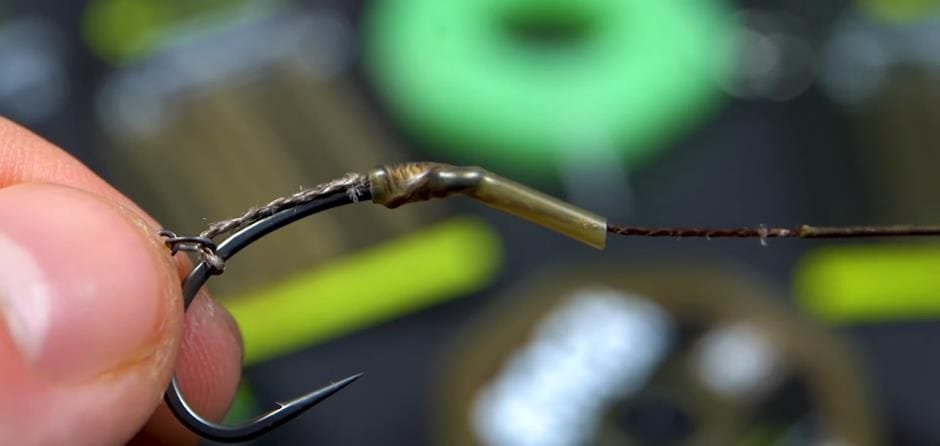
The Slip D Rig is a super effective, versatile rig that can be used with Pop Ups, Wafters or Bottom Baits with the simple addition of putty. In this AD Quickbite, we show you just how simple it is to tie!
Before we show you the steps to tying a slip d fishing rig, there are a few items you may need to add to your shopping basket to make this amazing rig.
What Do I Need To Tie A Slip D Rig?
-
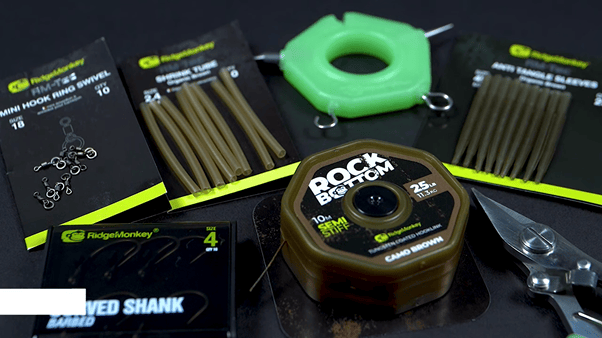
RidgeMonkey RM-Tec Multi Tool
-
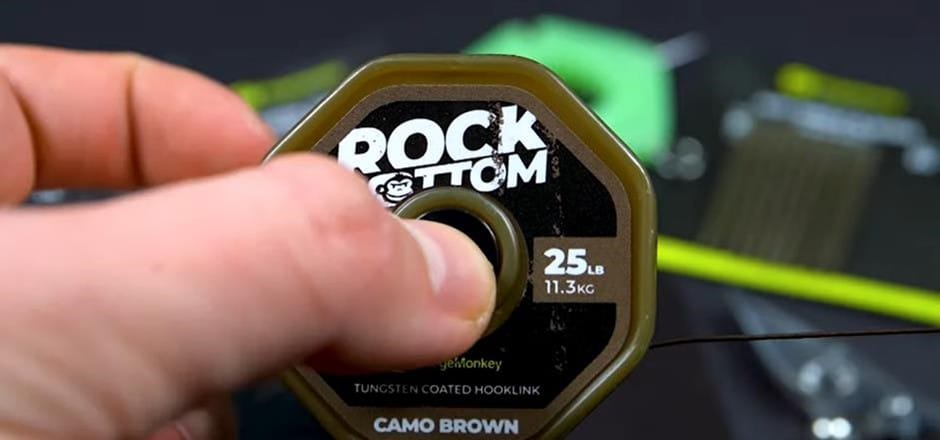
RidgeMonkey RM-Tec Rock Bottom Tungsten Coated Hooklink
-
RidgeMonkey Nite Glow Braid Scissors
-
Curved Shank Hook
-
RidgeMonkey RM-Tec Mini Hook Ring Swivel
-
RidgeMonkey RM-Tec Shrink Tube
-
RidgeMonkey RM-Tec Anti Tangle Sleeves
-
RidgeMonkey The Floss 50m
-
RidgeMonkey RM-Tec Rock Bottom Tungsten Putty - Twin Pack
How To Tie An Adjustable Zip Rig Step By Step
Step 1: Take 12 inches of coated braid
Step 2: Strip 4 inches of the coating
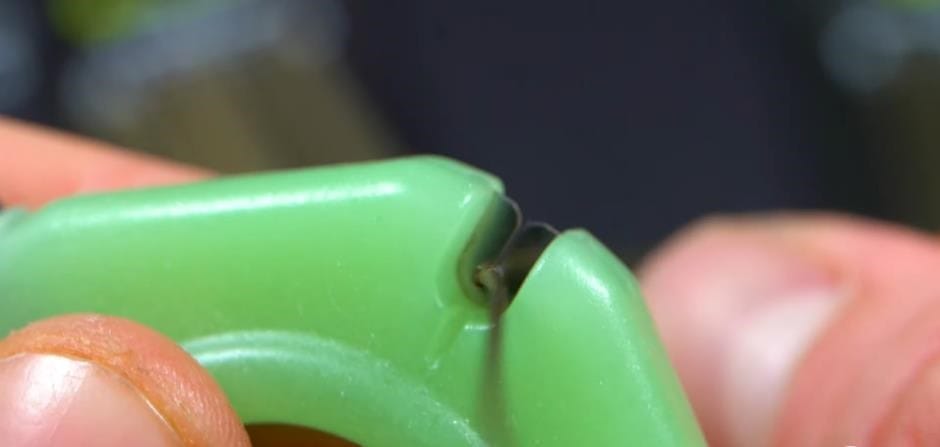
Step 3: Double over the stripped material
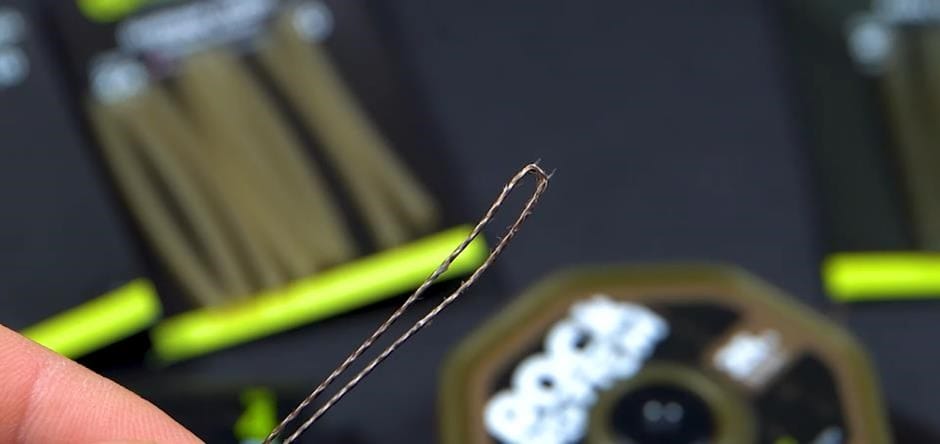
Step 4: Take a Curved Shank Hook
Step 5: Pass the doubled over section through the front of the hook eye.
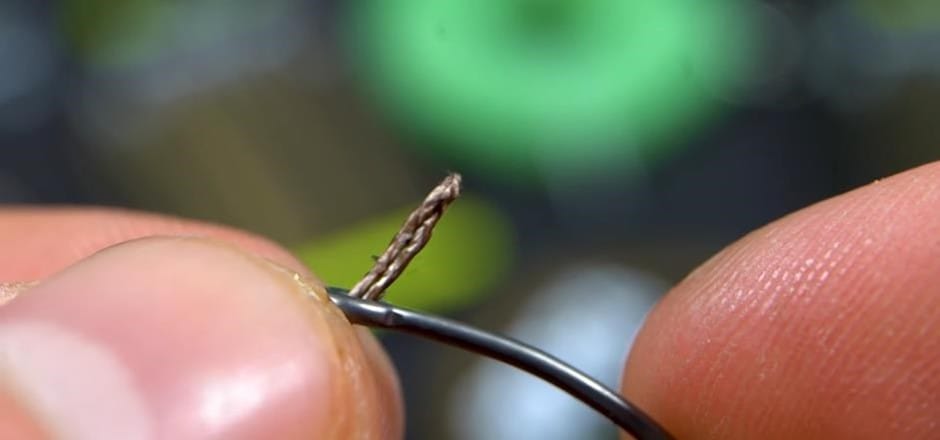
Step 6: Slide on a mini hook ring swivel
Step 7: Pass the loop over the point of the hook
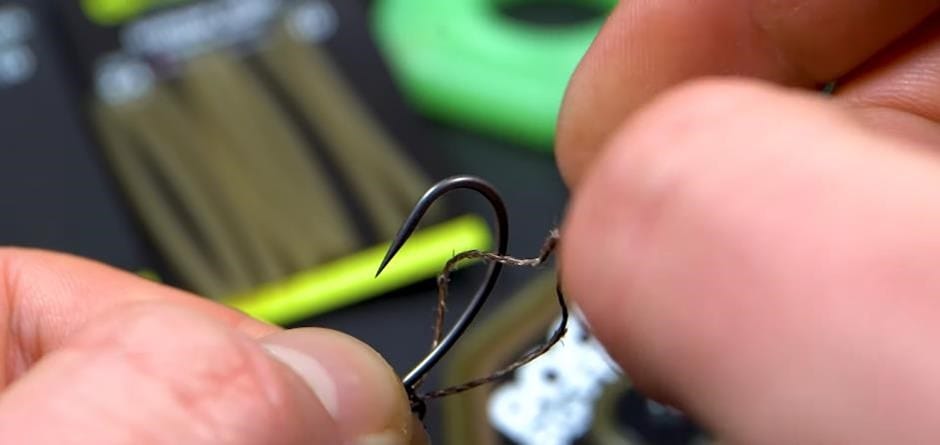
Step 8: Slide the D in line with the barb, using a knotless knot.
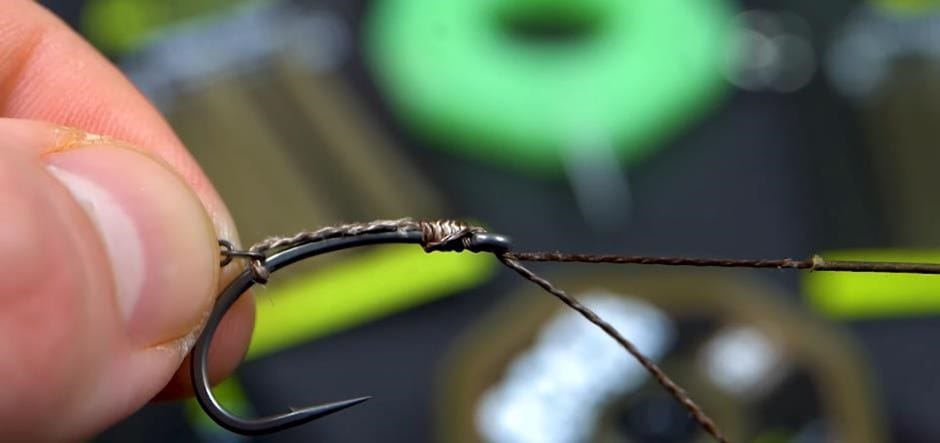
Step 9: Pull the short tag out the back of the hook and trim
Step 10: Grab your Nite Glo Braid Scissors
Step 11: Now slide on a piece of shrink tube and shrink.