Search
Skill School - Shotting A Waggler
As seen in Coarse Fishing Answers Magazine…

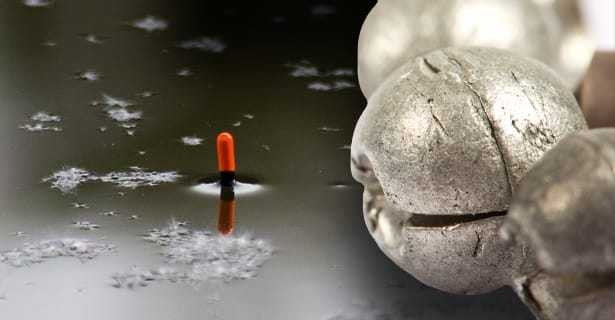
Shotting A Waggler - Shotting up properly will help you catch more fish.
1.) Before you start, make sure you use a float adaptor rather than just threading the main line directly though the eye of your float. The adaptor will allow you to change your float without having to take all of your shot and hook off, as it just pops out of the top the rubber tubing.
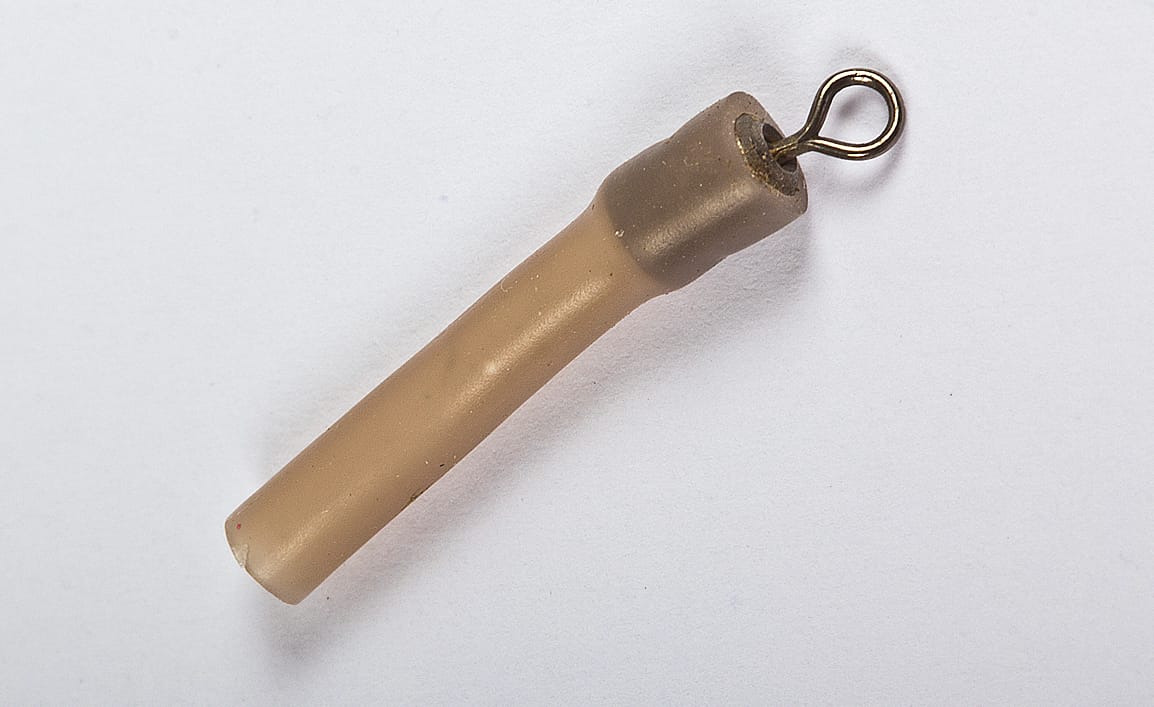
2.) The float adaptor simply fits over the eye end of your waggler. It needs to be a tight fit but remember to be gentle, otherwise you could break your float. Try moistening the end of your float to help it fit into place.
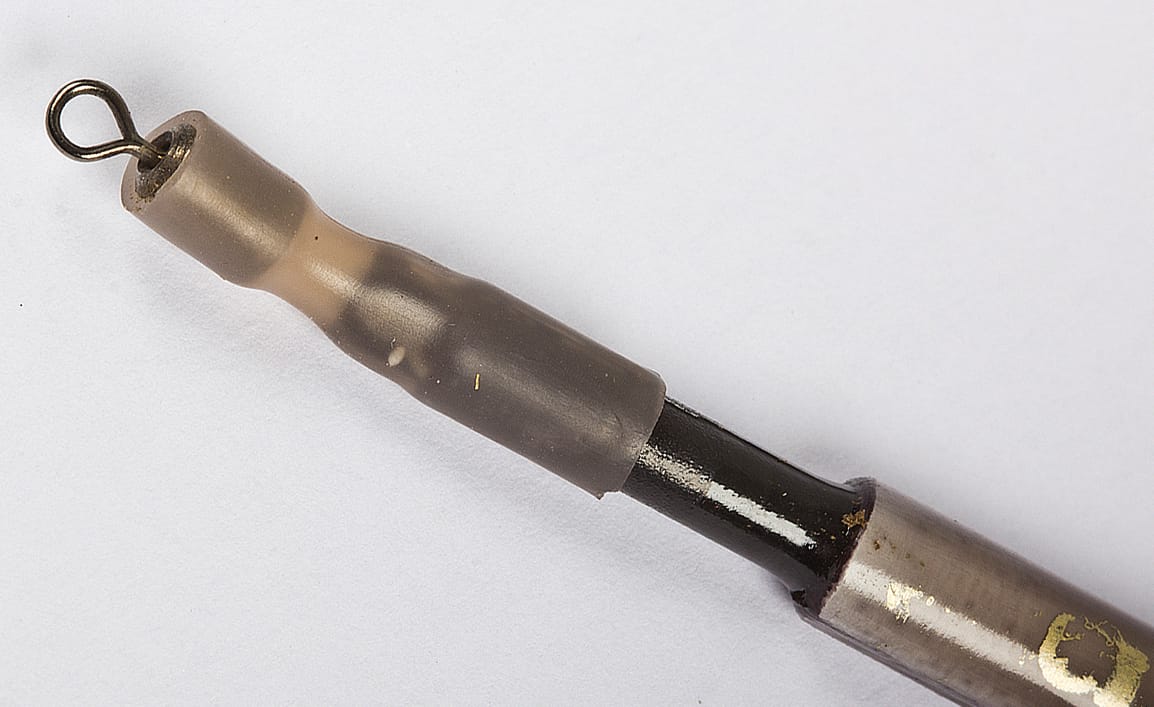
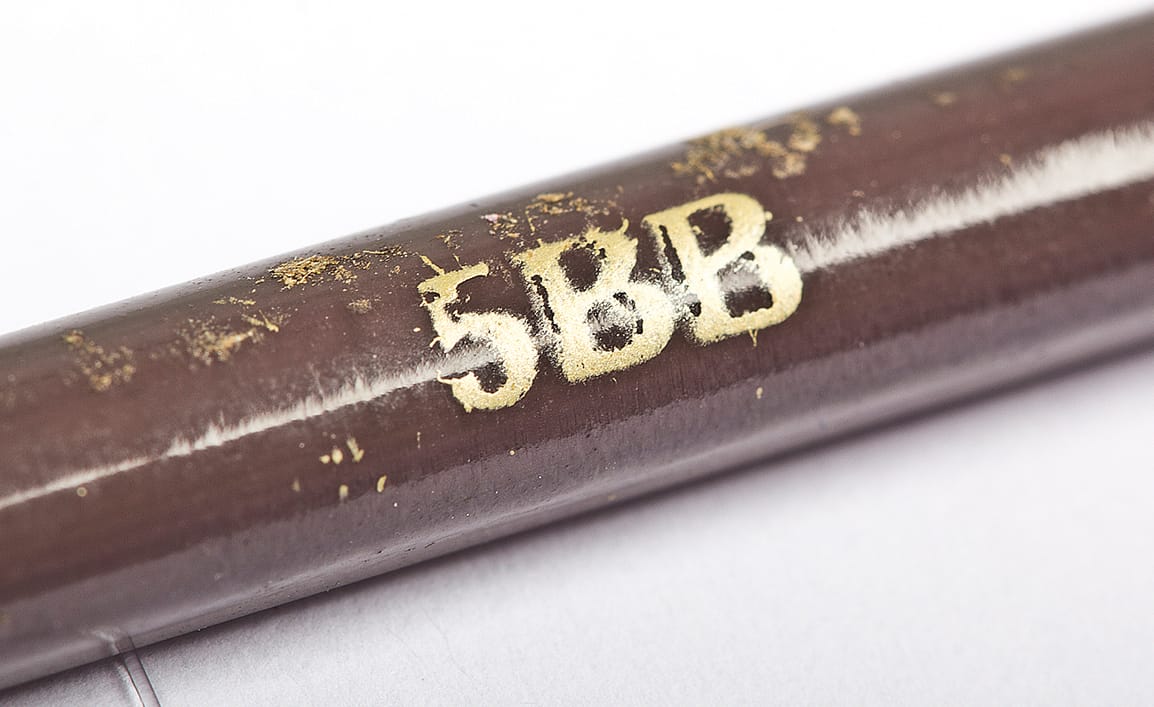
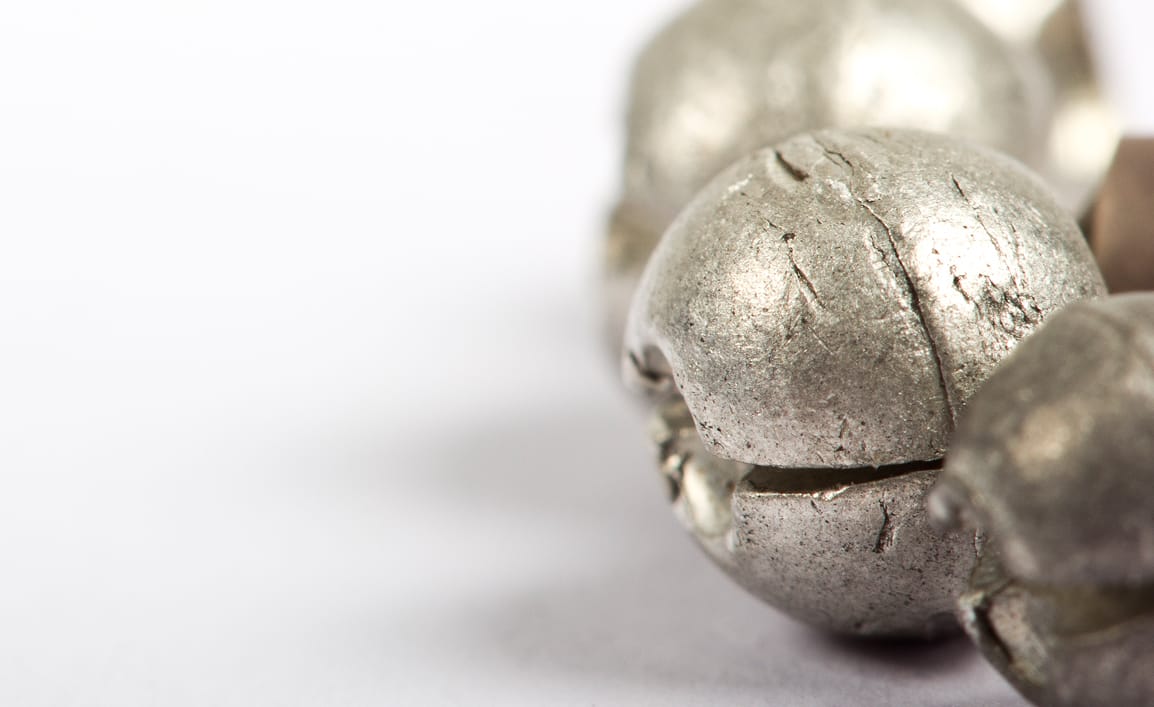
3.) The next thing to do is check the loading of your float. This will normally be printed on the side of the waggler, denoting what and how many shot it will take to cock and sink the float down to a certain point. This one, for example, will take five BB shot as its bulk of weight.
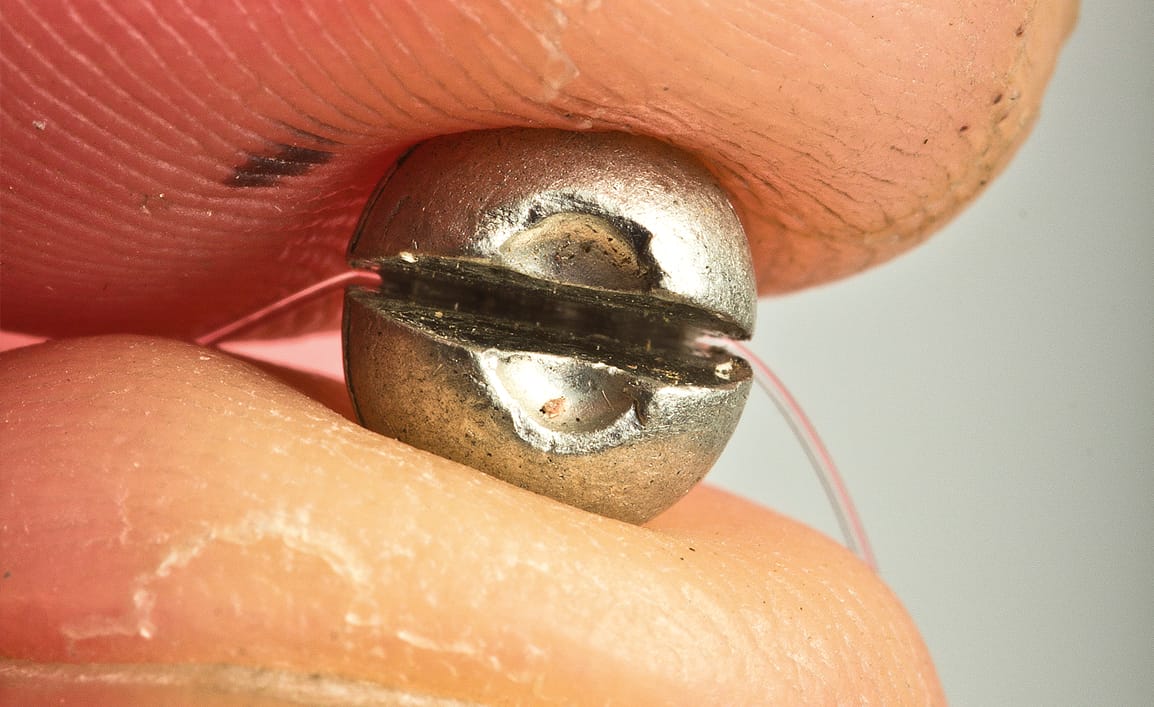
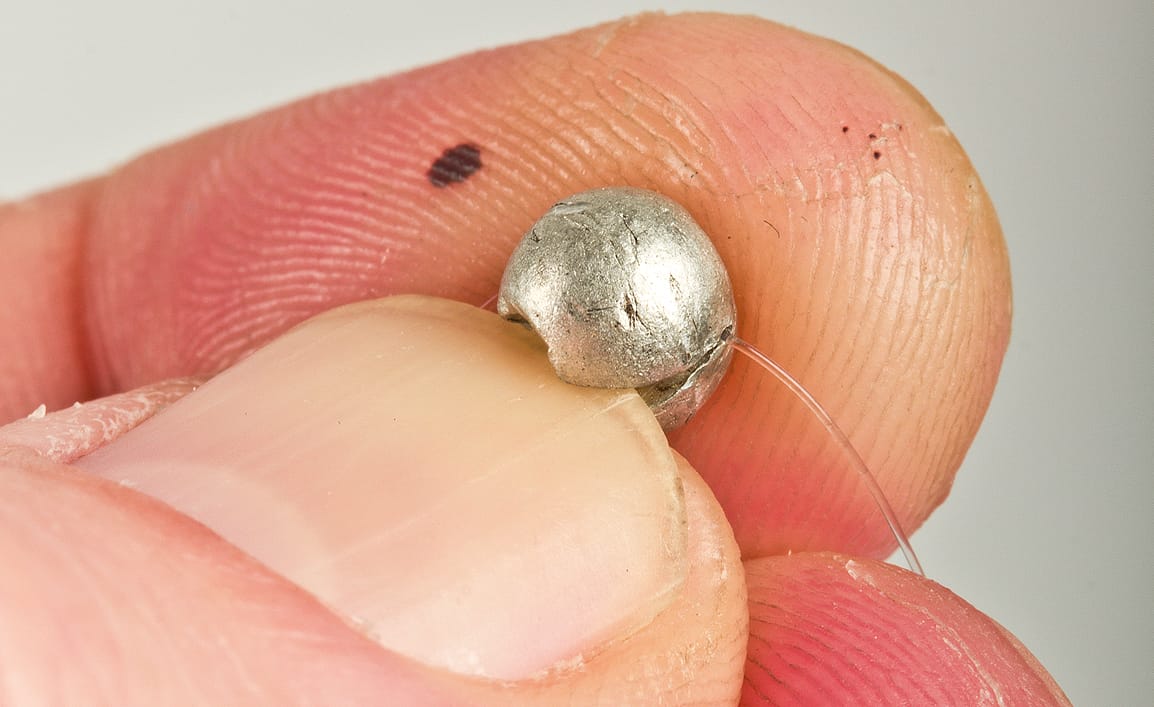
4.) Select the right amount of shot from your dispenser and with your float adaptor and waggler on the line lock it in place. When you apply the shot squeeze them on with your fingers, not your teeth. You’ll put too much pressure on with your teeth, which could damage your line and make it hard to move the shot should you want to change depth.
5.) There are two schools of thought when it comes to the spacing of your shot around the waggler. Some like it tight to the base of the float as it stops the float moving and can cut down on tangles. Others like a bit of a gap, allowing the float to move around a bit. There really is no right or wrong way on this.
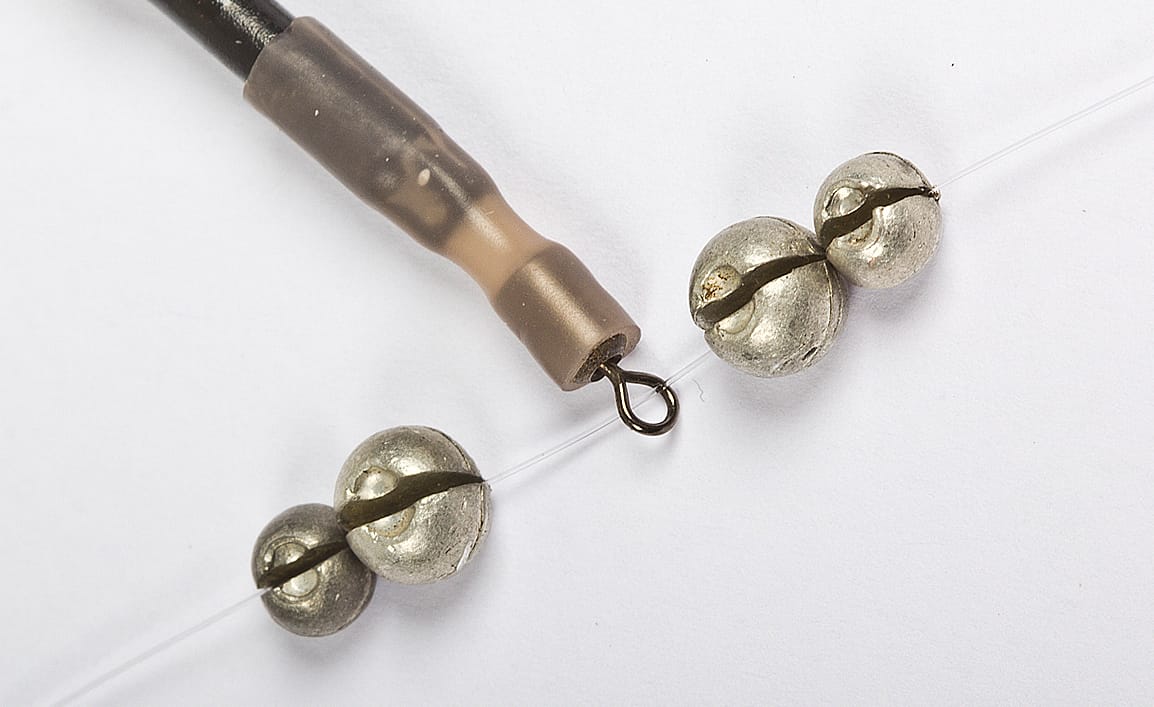
6.) One thing you do need to do as much as possible is to keep your shotting evenly spread on either side of the adaptor. Not only does this look better but gives a better balance to the float in the water.
7.) If you need to move your shot at any time don’t just pull them up the line, as this will damage it by causing a weak spot that could lose you fish. Instead, use your fingernail to open the shot up and then move it.
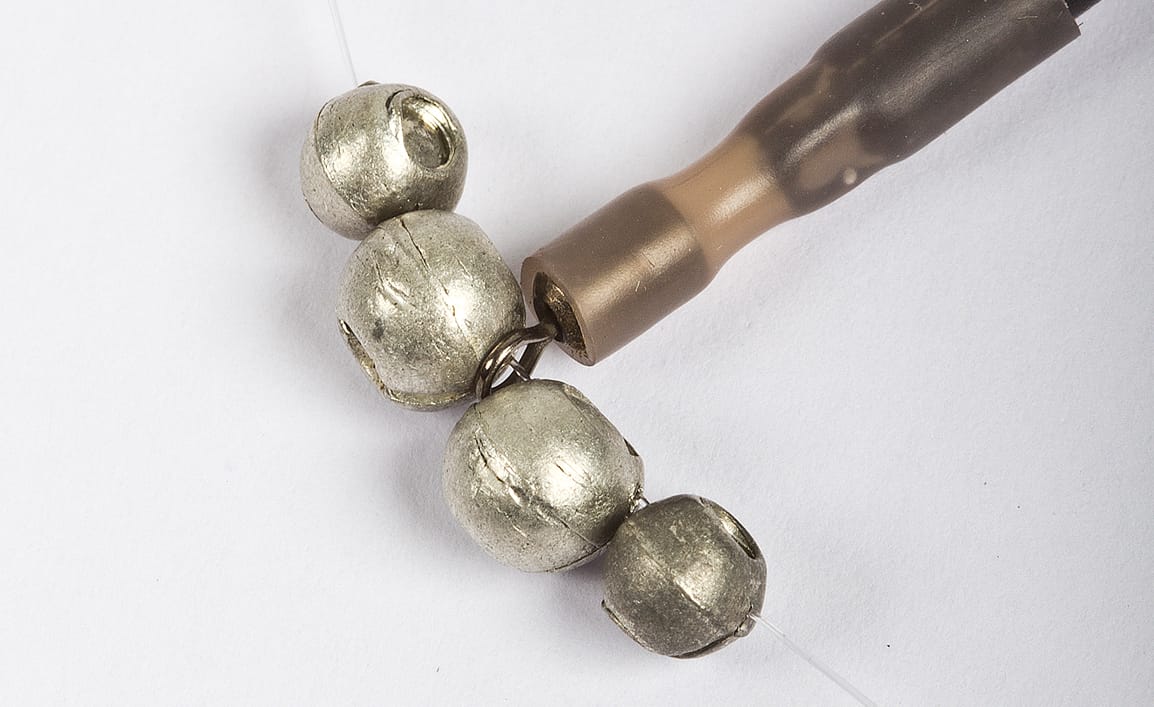
8.) With the bulk of your weight around the base of your float it will now sink to a certain depth when in the water. Usually this doesn’t take it all the way to the tip, leaving you a margin to add extra, smaller shot to control the style and rate of fall of your hook bait. There is no need to use big weights such as BBs or AAs down your main line in most waggler fishing situations. These large weights will, in fact, only cause you problems with tangles as they swing around.
9.) Unless you are using a strung-out, shirt-button-style arrangement to achieve an even fall from the surface for your hook bait, a good rule of thumb is to not have any shot further than halfway up the line between your hook and float, as it can cause tangles.
10.) Apply smaller shot to the line (No6, No8 and No10) that will act to move your hook bait through the water – for example, a bulk halfway and then a spread of a few smaller shot will get your bait down quickly to half depth and then give it a steady fall through where the fish are feeding.
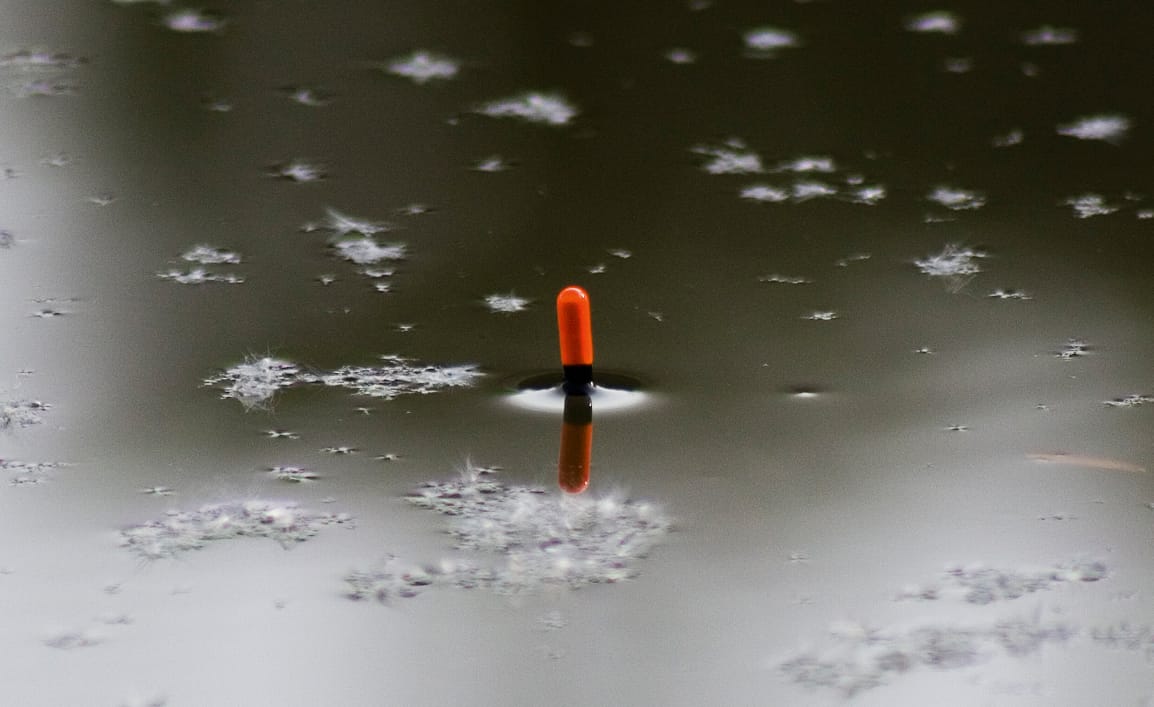
This will also shot your float down to the right point on the surface of the water to show up bites. You don’t want too much showing, as your bite detection won’t be sensitive enough, but too little showing and you’ll have a hard time seeing the float at all.
Buy Float Fishing Tackle
Shotting A Waggler - Shotting up properly will help you catch more fish.
1.) Before you start, make sure you use a float adaptor rather than just threading the main line directly though the eye of your float. The adaptor will allow you to change your float without having to take all of your shot and hook off, as it just pops out of the top the rubber tubing.
2.) The float adaptor simply fits over the eye end of your waggler. It needs to be a tight fit but remember to be gentle, otherwise you could break your float. Try moistening the end of your float to help it fit into place.
3.) The next thing to do is check the loading of your float. This will normally be printed on the side of the waggler, denoting what and how many shot it will take to cock and sink the float down to a certain point. This one, for example, will take five BB shot as its bulk of weight.
4.) Select the right amount of shot from your dispenser and with your float adaptor and waggler on the line lock it in place. When you apply the shot squeeze them on with your fingers, not your teeth. You’ll put too much pressure on with your teeth, which could damage your line and make it hard to move the shot should you want to change depth.
5.) There are two schools of thought when it comes to the spacing of your shot around the waggler. Some like it tight to the base of the float as it stops the float moving and can cut down on tangles. Others like a bit of a gap, allowing the float to move around a bit. There really is no right or wrong way on this.
6.) One thing you do need to do as much as possible is to keep your shotting evenly spread on either side of the adaptor. Not only does this look better but gives a better balance to the float in the water.
7.) If you need to move your shot at any time don’t just pull them up the line, as this will damage it by causing a weak spot that could lose you fish. Instead, use your fingernail to open the shot up and then move it.
8.) With the bulk of your weight around the base of your float it will now sink to a certain depth when in the water. Usually this doesn’t take it all the way to the tip, leaving you a margin to add extra, smaller shot to control the style and rate of fall of your hook bait. There is no need to use big weights such as BBs or AAs down your main line in most waggler fishing situations. These large weights will, in fact, only cause you problems with tangles as they swing around.
9.) Unless you are using a strung-out, shirt-button-style arrangement to achieve an even fall from the surface for your hook bait, a good rule of thumb is to not have any shot further than halfway up the line between your hook and float, as it can cause tangles.
10.) Apply smaller shot to the line (No6, No8 and No10) that will act to move your hook bait through the water – for example, a bulk halfway and then a spread of a few smaller shot will get your bait down quickly to half depth and then give it a steady fall through where the fish are feeding.
This will also shot your float down to the right point on the surface of the water to show up bites. You don’t want too much showing, as your bite detection won’t be sensitive enough, but too little showing and you’ll have a hard time seeing the float at all.
Buy Float Fishing Tackle