Search
A Beginner's Guide to Pole Fishing Rigs – How to Build Your Own Pole Rigs

If you fish the pole, you’ll need to know how to make your own rigs…
In this beginner's guide, we will show you step-by-step how to tie your own rigs for pole fishing.
Before we jump into the steps, it is worth noting that not all match anglers will approach rigs the same, after all, pole rigs can be very personal things and there is no one way to make them. We aim to show you the basics just to get you familiarised with pole rigs and if you wish to change it, adapt it in the future then by all means!
Why not use a ready-made rig for pole fishing?
Although there are a number of very good, ready-made products to be found on tackle-shop shelves they tend to be created around popular line diameters, which may be too strong or too weak for your needs. They are a great starter option, but you’ll soon move on, and if you do want to get serious about catching on the pole then making rigs is something you will need to do.
Things to consider when making pole rigs
Pole rigs that are tied by hand with care and precision require lots of effort put in, which is always rewarded.
1. Make sure your bait is presented correctly
2. Your fish is hooked & stays hooked.
3. Float choice is important
4. Getting Pre-Stretched Lines
5. Adding Weights
You will also need other Terminal Tackle & Tools to build your rigs, which all will be covered below.
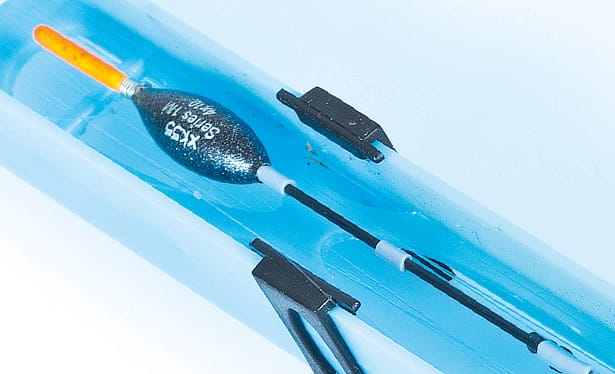
What Float Should I Use for Pole Fishing?
As one of the first stops for deciding on your rigs, choosing your float depends on where you’ll be fishing.
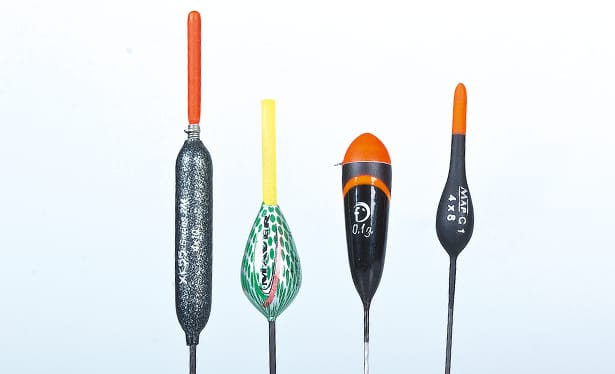
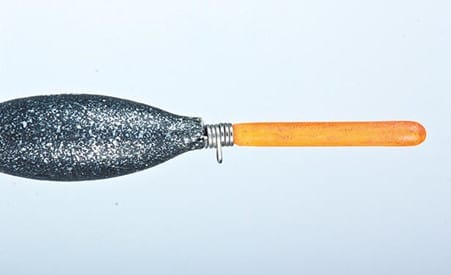
Rugby-ball-shaped body: Floats of this shape, preferably one that’s fitted with a wire stem and hollow bristle, or antenna make a great all-round option. This float is ideal for deepwater fishing or fishing small baits on the lake bed in calm conditions. It is especially suited when you’re looking for delicate bites from roach and skimmers.
The thicker bristle style float: Perfect for rough water conditions, with low light and ripples on the water, the thicker bristle is a good option when fishing for bigger species. This float works well with pellets for carp in cool-water conditions, as the wire stem helps to keep the rig direct and in line.
| BE AWARE! There is an issue with wire-stemmed floats in that they are prone to damage – the wire can get bent out of shape, so they are not the best choice in the summer when fishing can be hectic. |
Carbon-stemmed thick-bristle float: The best all-round option as it would be more robust than wire and allows you to fish with the bigger baits required on commercials in warmer water.
Mini carbon-stem with ultra-thick bristle: A must-have pattern for fishing big baits in shallower swims, looking for big fish, ideal as a summer rig. this one. Due to its shape, the float sits up in the water with the buoyant bristle sitting out of the water, which allows you to spot the difference between line bites and true bites, eliminating foul-hooked fish.
Our advice is to take the time to have a look at what the match anglers are fishing with on your local venue and then pick similar float patterns as a guide. Once you have decided on the three or four styles you want, go and buy a few of each float in the same size. Doing this gives you the chance to create a batch of spare rigs, just in case you trash one on the bank.
Click here to view all Fishing Floats
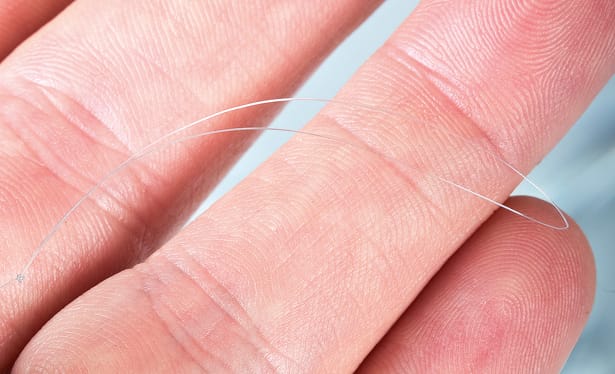
What Fishing Line is Best for Pole Rigs?
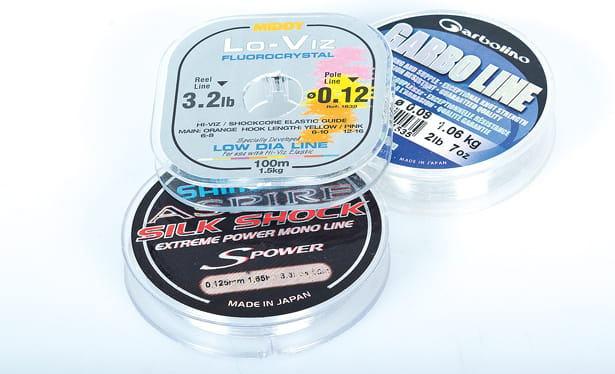
You will need a few spools of pre-stretched mono rig line. The pre-stretched is best because it gives direct contact between your bait and pole tip, allowing for a quicker and stronger transfer of movement from the pole tip to the hook on the strike.
The three most popular diameters are 0.10mm, 0.12mm and 0.14mm, although there might be a need for a stronger line if you are fishing close to snags. The lower-diameter mono is also ideal as a hook-link line if you’re making your own.
View all Coarse & Match Fishing Line
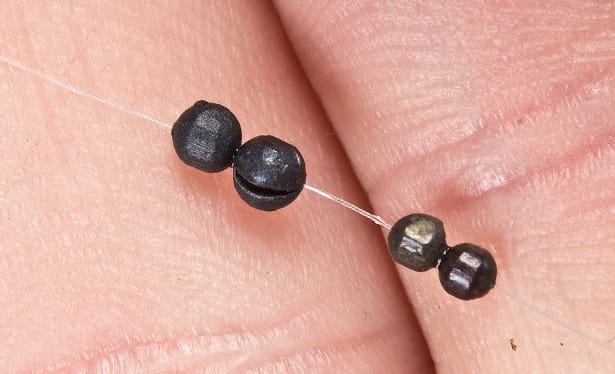
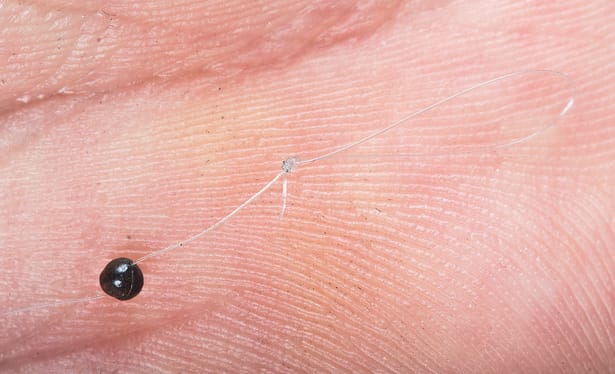
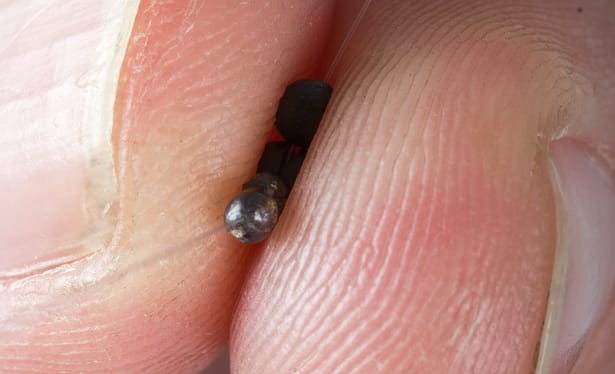
What Weights Do I need for my Pole Rigs?
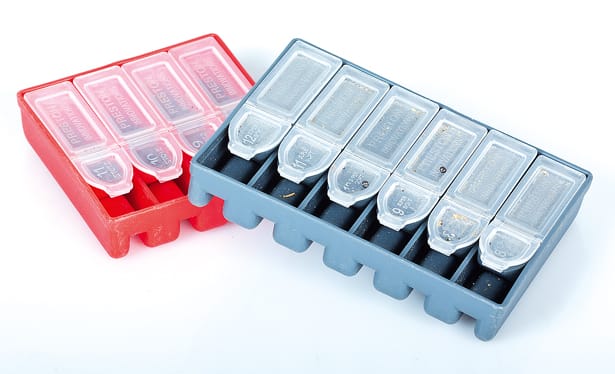
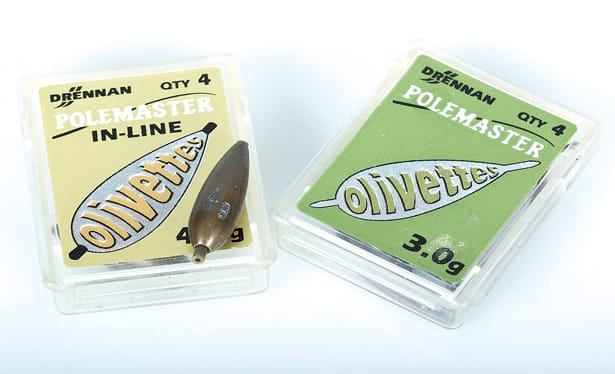
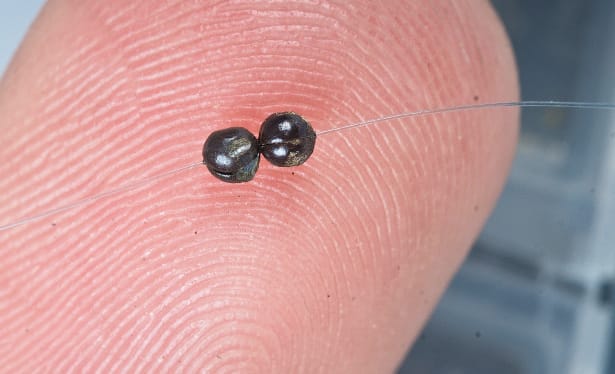
You will also need a choice of a micro shot from No8 down to No11, and if you plan to fish with big floats in deep water it’s also worth investing in a selection of olivettes.
Click here to view all Leads.
What Terminal Tackle Items & Tools Do I Need?
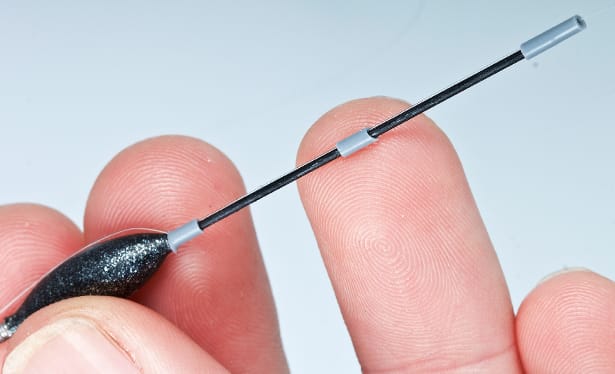
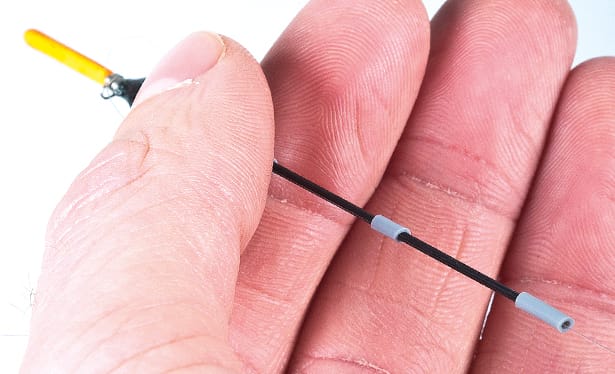
Silicone float rubbers: You need a variety because the stems come in different gauges and you will want a fitted grip to hold your float on the line.
Pole Winders: These are used to store you new rigs on
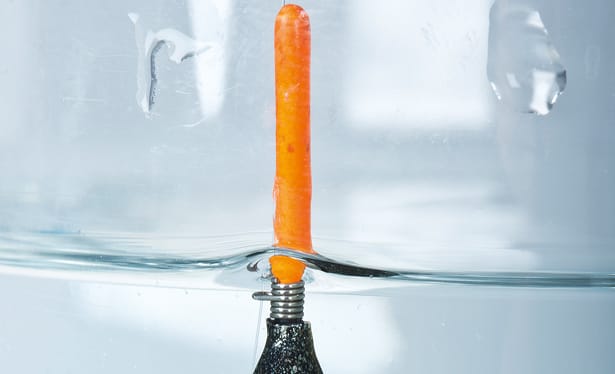
Deep Jar: Or something similar to use when shotting the rig up. The jar will be filled with water and used to put your float in and weigh up so that you can get the weighting as accurate as possible.
You will also need the following tools...
- Fine-nose pliers
- Sharp scissors/clippers
- Tape measure - Used to measure out the length of your rig to ensure it’s deep enough to fish any peg that you choose.
After you have everything you need from your testing jar to the right float for your fishing venue, you are ready to make your pole rig.
How to Build a Pole Rig for Fishing
Tips on Hooklengths for Pole Rigs
Pole rigs usually have a short hook link between 4-6 inches tied with a line diameter. The idea with hooklengths is that they are a weak link, which will give first if you get snagged and have to pull for a break. This in turn stops the whole rig from getting trashed. It also means that if you think the hook you’re fishing with has gone blunt it’s just a case of changing hook links, however, if you’re going to change your hook link then it makes sense to replace it with one the exact same length. Even better, have a ready supply to hand.